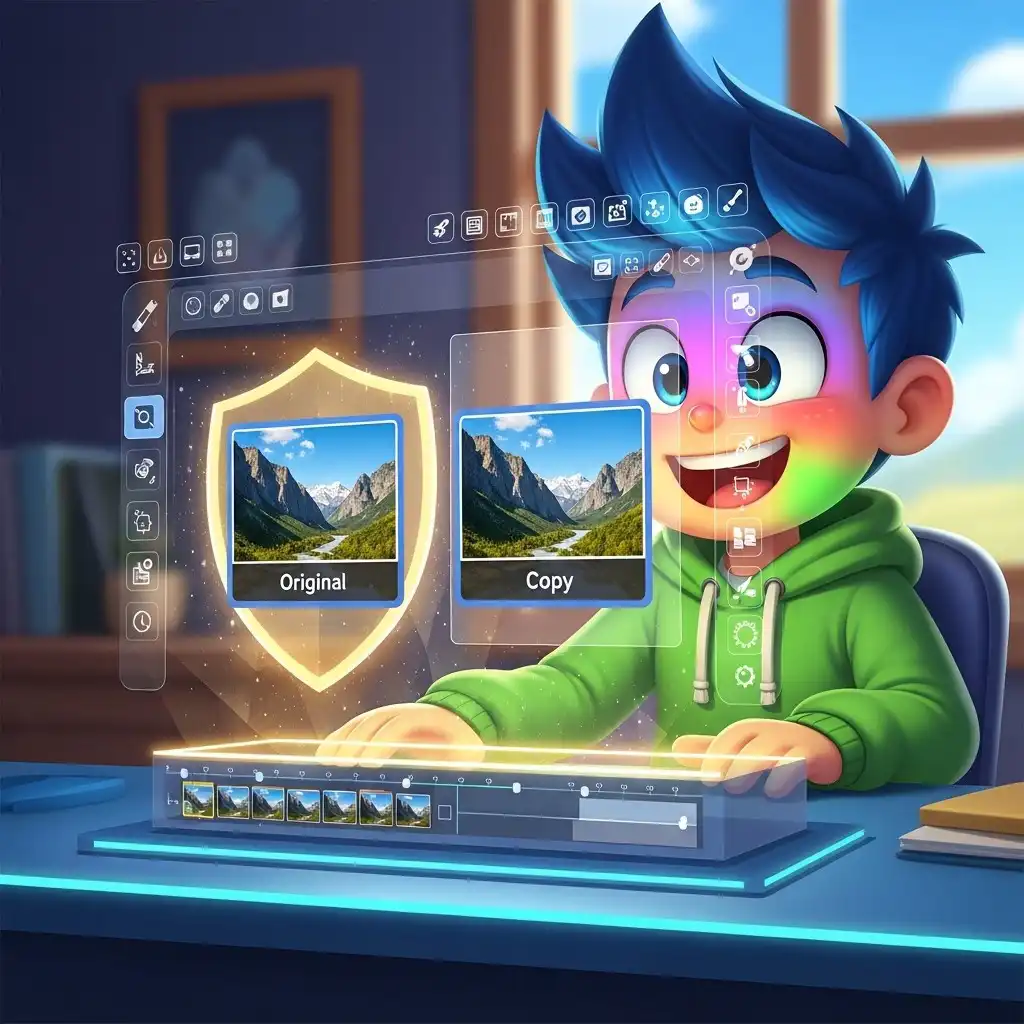
Open any photograph in a professional retouching suite and watch what happens before a single slider moves: the editor duplicates the background layer. This one-second habit is the single biggest difference between amateur and professional workflows, and the foundation of non-destructive photo editing — the practice of transforming images while keeping the original pixel data untouched.
If you have ever lost a photo to an irreversible edit, or exported a flattened version you could never revise, this guide is for you. You will learn why you should always duplicate layers before editing, what a duplicate layer actually protects, how to duplicate a layer in our free online photo editor with layers, and the mistakes this simple habit prevents. By the end, the duplicate will stop being an optional step and become your default first move.
What a Duplicate Layer Actually Is
A duplicate layer is an exact copy of your image stacked directly above the original inside your editing project. The original stays intact underneath while every adjustment, brushstroke, crop test, and experiment happens on the copy — nothing you do on the duplicate can harm the file beneath it.
Think of it as tracing paper laid over a painting: you can draw boldly on the transparent sheet because the artwork below never changes. Technically, the duplicate preserves your original pixel data inside the project, so repeated re-editing never accumulates quality loss on the source image. And the moment an experiment fails, you can lower the layer's opacity, hide it, or delete it — and the photograph is exactly as it was.
Why You Should Always Duplicate Layers Before Editing
- It protects your original photo: every destructive move — an over-sharpened edge, a failed color grade, a healing brush that smears — lands on the copy, never on the file the camera created, leaving a pristine fallback at all times.
- It gives you permission to experiment: push contrast further than feels safe, test an unconventional color grade, attempt a complex composite; boldness only exists when failure is free, and bold experimentation is how editors develop style.
- It creates a permanent comparison anchor: toggle the duplicate's visibility and you instantly compare your progress against the untouched original — the fastest defense against gradual over-editing, where small increments accumulate into an excessive result.
- It unlocks opacity and blending control: a duplicate is not only a safety net, it is an ingredient — lower its opacity to fade an effect, or set it to Overlay, Soft Light, or Screen to build contrast and glow that sliders alone cannot produce.
How to Duplicate a Layer in Our Free Online Photo Editor
- Open your photo in the editor — everything runs locally in your browser and your files never leave your device.
- Open the layers panel and duplicate the background layer before touching a single tool; make this reflexive, like fastening a seatbelt.
- Apply your adjustments on the new layer: exposure, color balance, filters, retouching.
- Toggle the layer's visibility whenever you want an honest before/after comparison, especially after long sessions when your eyes adapt to increasingly stylized results.
- If an edit goes too far, lower the layer's opacity to fade it or delete the layer entirely — the original is still there, untouched.
Duplicate Layer vs. Adjustment Layer vs. Layer Mask: Know the Difference
These three pillars of non-destructive editing are often confused. A duplicate layer copies pixels so you can edit the copy freely. An adjustment layer adds no pixels at all — it is a floating instruction (curves, color balance, exposure) that modifies everything beneath it and can be changed or deleted at any time. A layer mask controls where any layer is visible, letting you brighten only a subject's face or darken only a sky.
The professional habit is to combine them: duplicate for pixel-level work, adjustment layers for global color and tone, masks for selectivity. All three share one purpose — keeping the original data untouched.
The Non-Destructive Photo Editing Workflow for Beginners
A duplicate layer is the entry point, not the whole system. A reliable sequence flows like this: duplicate first; correct white balance; set global exposure and contrast while reading the histogram; refine color with vibrance, saturation, and hue controls; apply selective edits with masks; reduce noise only where needed; sharpen last, tied to your output size.
Because every step lives on its own layer or adjustment, you can revisit any decision days later without redoing the entire edit — that is what a true non-destructive photo editing workflow looks like in practice, and why professionals revise old edits in minutes while amateurs start over.
Mistakes That a Duplicate Layer Prevents
- Editing directly on the background layer, where one wrong move becomes irreversible and the only undo path is closing the file.
- Over-sharpening or over-filtering the original with no way to dial the effect back — on a duplicate, "too much" is just an opacity slider.
- Fear-driven editing: editors who cannot experiment do not learn, and the duplicate removes the fear.
- Delivering a flattened edit you can never revise — when a client, a platform, or your own future self asks for a change, a layered file with an intact original turns it into a five-minute job instead of a re-shoot.
When a Duplicate Layer Is Not Enough
Duplicating protects the original, but it does not give you selective control or infinite flexibility. Heavy stacks of duplicates bloat your project and tempt you into destructive habits on the topmost copy. For color and tone, adjustment layers are lighter and endlessly revisable; for local work, masks are the answer; for retouching, a dedicated healing layer keeps repairs isolated. The duplicate is the foundation of the house — necessary, but not the walls, the roof, and the windows.
Frequently Asked Questions
Does duplicating a layer reduce image quality?
Should I duplicate layers even for quick one-minute edits?
Is a duplicate layer the same as non-destructive editing?
How many duplicate layers is too many?
Can I duplicate layers in a free browser-based photo editor?
The Takeaway
A duplicate layer is the cheapest insurance in photography: one click, zero risk, total creative freedom. Build the habit on every single edit and practice it in our editor — your files never leave your browser.
Key Takeaways:
- Duplicate before you edit, always.
- The duplicate protects the original and frees experimentation.
- Toggle visibility to fight over-editing.
- Combine duplicates with adjustment layers and masks.
- Sharpen and export last, from a layered project.