Image Tips

Essential techniques to master digital photography editing (Part 1).

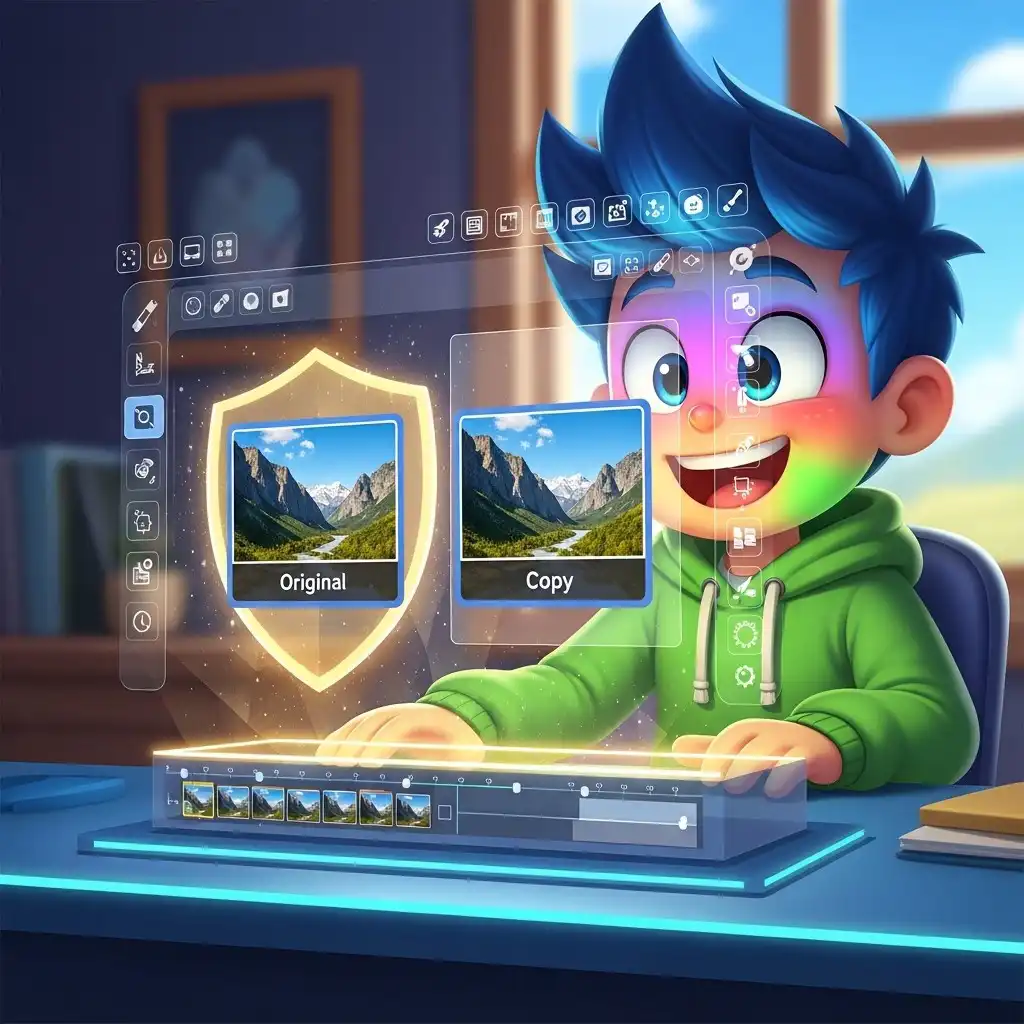
Demonstration of duplicate layers in image editing software

Duplicate Layers

Working on a duplicate layer forms the bedrock of intelligent image editing, a practice that separates careful craft from haphazard manipulation. When you open any photograph, your first action should be to duplicate the background layer before making a single adjustment. This simple gesture creates a safety net that preserves your original capture exactly as the camera recorded it. The psychological freedom this provides cannot be overstated. You gain permission to experiment boldly, to push contrast further than feels safe, to test unconventional color grades, or to attempt complex compositing without the nagging fear of irreversible damage. With a duplicate layer, you maintain an anchor point to compare your progress against the untouched original.

Histogram graph showing tonal distribution in photography

Master Histogram

The histogram serves as your image's truth-teller, a graphical representation that reveals what your eyes might miss under variable lighting conditions. This luminance map charts pixel distribution from pure black on the left to pure white on the right, with midtones occupying the central region. Learning to read it transforms you from someone who edits by guesswork into a technician who makes informed decisions. A well-exposed photograph typically displays a balanced curve spanning the entire range without severe spikes at either edge. Pay attention to the shape of the curve to understand tonal distribution and avoid clipping shadows or blowing out highlights.

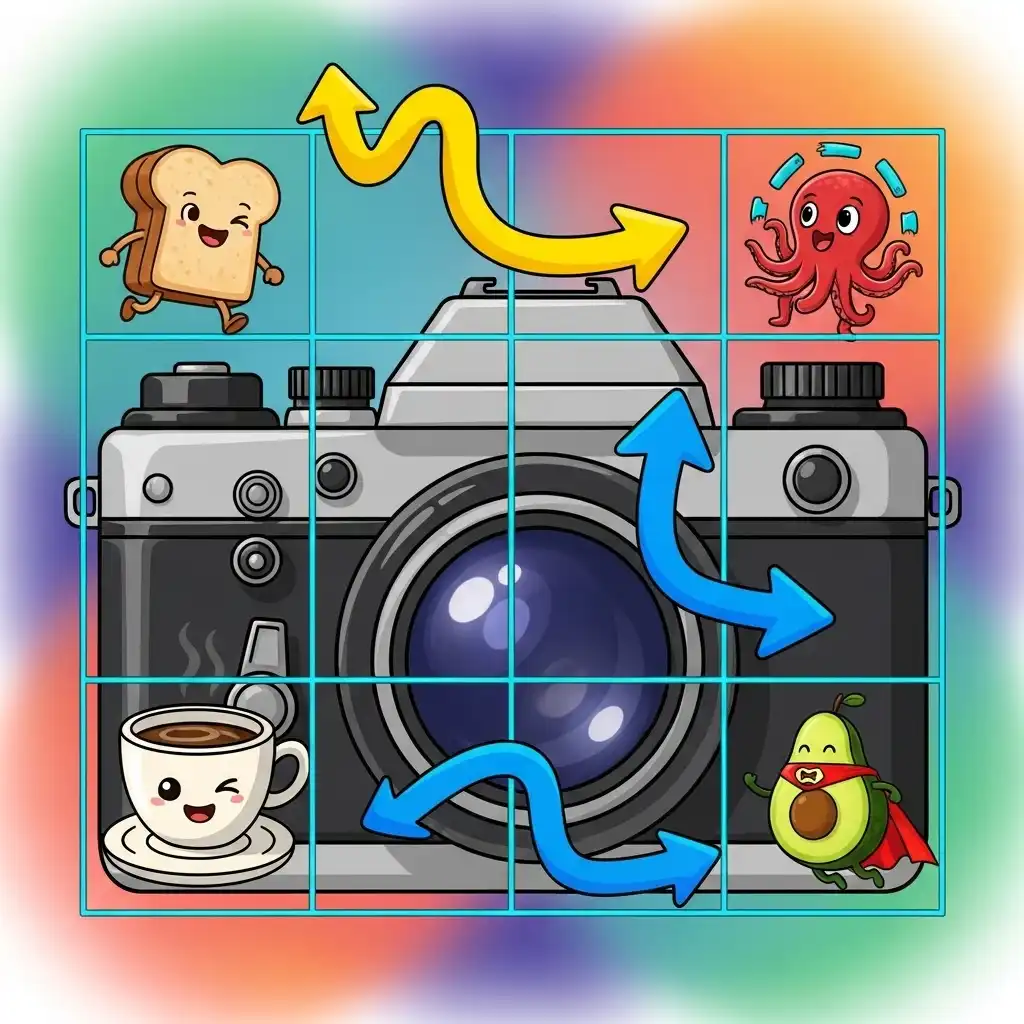
Rule of Thirds grid overlay applied to a photograph

Rule of Thirds

The rule of thirds provides a foundational framework for composing images that feel naturally balanced yet dynamically engaging. By mentally dividing your frame into a three-by-three grid, you create four intersection points and eight dividing lines that serve as ideal placement guides for visual elements. Human perception tends to find centered compositions static and predictable, whereas off-center arrangements aligned with these grid lines generate subtle tension that holds attention longer. Modern editing applications make this principle accessible through overlay grids that appear during cropping. Use this technique to create flow and negative space in your compositions.

Correcting white balance using the eyedropper tool

White Balance First

White balance establishes the color foundation upon which every subsequent edit rests, making its correction the essential first step in any serious editing workflow. An image with inaccurate color temperature propagates errors through every adjustment that follows. Begin by identifying a neutral reference point within your image, ideally a gray or white surface that should contain equal red, green, and blue values. The eyedropper tool allows you to sample this area and instantly recalibrate the entire image's color balance. This ensures skin tones and environmental colors appear natural before you apply creative grading.

Applying smart sharpening to enhance image details

Smart Sharpening

Sharpening represents the final polish in image editing, a step that must be approached with restraint and technical understanding to avoid introducing artifacts. Sharpening algorithms work by increasing edge contrast, creating the illusion of enhanced detail. Applied too early, it amplifies noise; applied too aggressively, it produces halos. The professional approach treats sharpening as a final step tied to output intent. Use masking to restrict sharpening to actual edges rather than smooth areas like skies or skin, preventing an unnatural, gritty appearance in your finished image.

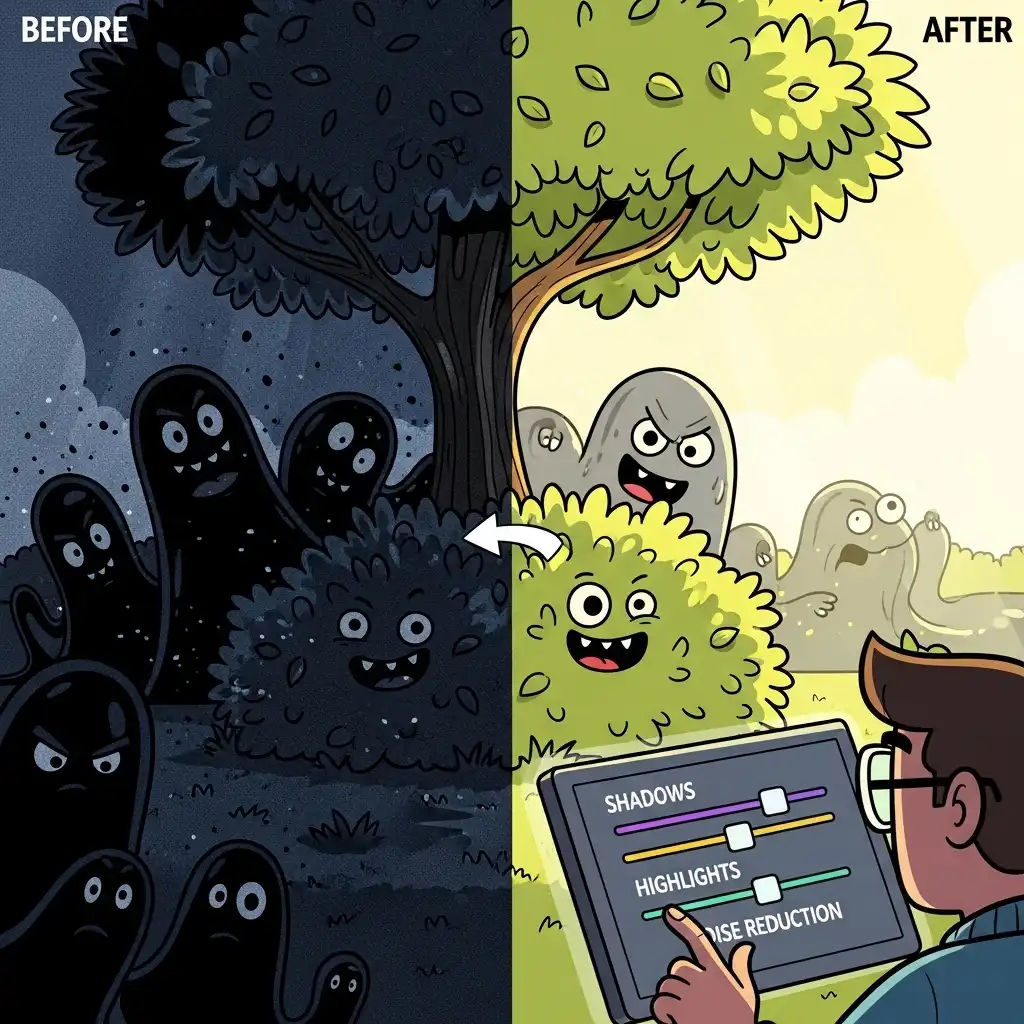
Applying selective noise reduction to a digital photo

Selective Noise Reduction

Noise reduction demands surgical precision rather than blanket application. Digital noise manifests as luminance noise (grain) and color noise (colored speckles). Modern editing applications separate these controls. Avoid sliding both to maximum values, as this erases texture essential to authenticity. Apply stronger luminance noise reduction specifically to shadow regions using masking, while preserving midtones and highlights. For portraits, protect skin texture by limiting reduction. The goal is balanced refinement where noise remains subordinate to the subject without creating a plastic, melted look.

Subtle vignette effect applied to the edges of an image

Subtle Vignetting

Vignetting functions as visual punctuation, a gentle darkening at frame edges that guides attention toward your subject. When applied with restraint, it creates depth; when overdone, it announces itself as artificial. Use midpoint controls to position the effect and adjust feathering to ensure the transition dissolves imperceptibly. Always evaluate vignetting with the histogram visible to avoid clipping shadow detail. If your image contains important elements near edges, consider radial filters instead of global vignettes to maintain compositional integrity.

Demonstration of using Layer Masks to hide and reveal parts of an image

Layer Masks

Layer masks represent the cornerstone of non-destructive editing, transforming irreversible deletions into reversible decisions. Where erasing permanently discards pixels, masking conceals them temporarily. Pinte with black to hide, white to reveal, and gray for partial transparency. This enables sophisticated compositing and seamless exposure blending. Use masks to apply adjustments seletivamente—for example, brightening only a subject's face or increasing saturation in a specific flower—without affecting the rest of the image. Mastering masks encourages experimentation by removing the fear of permanence.

Monitor calibration tool ensuring accurate colors on screen

Monitor Calibration

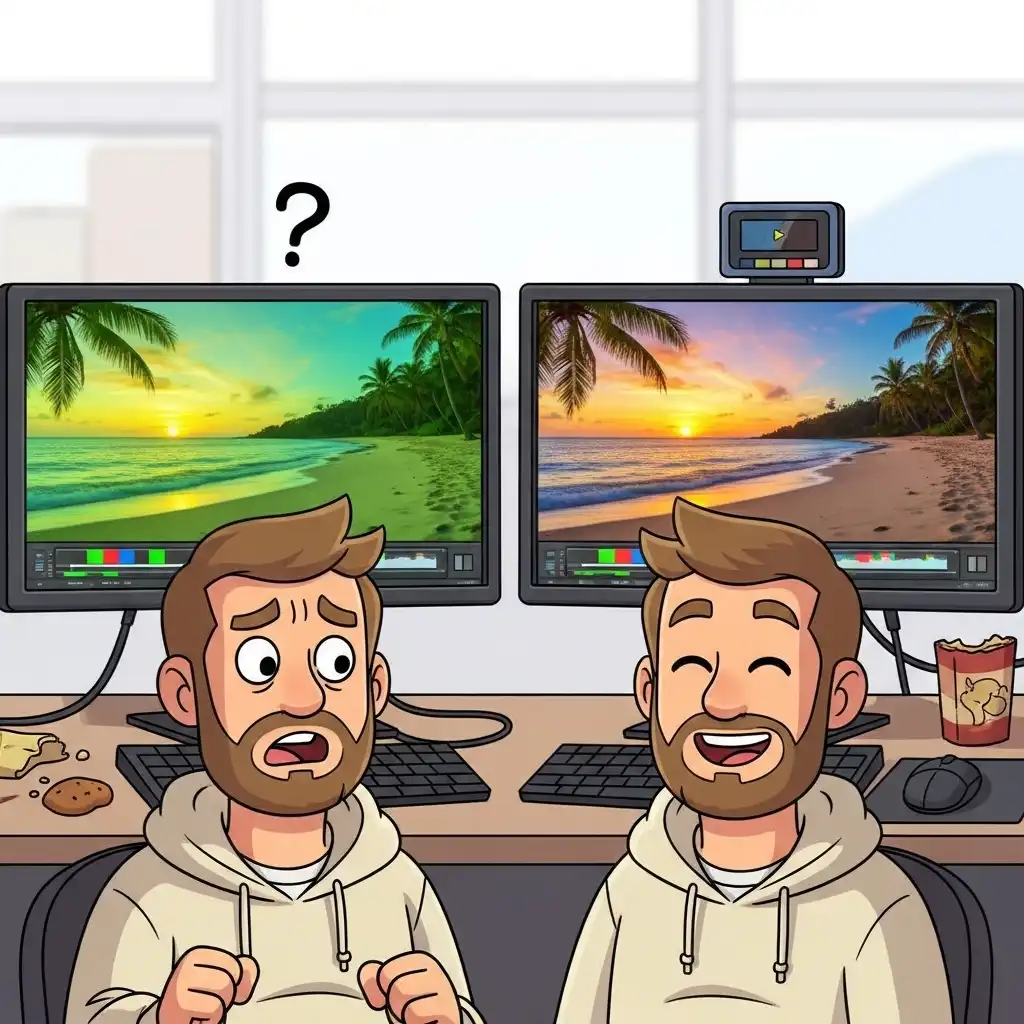
Monitor calibration forms the invisible foundation of color-accurate editing. An uncalibrated display presents a distorted reality where colors appear warmer or cooler than they truly are. Editing under these conditions guarantees inconsistent results across other devices. Hardware calibration using a colorimeter is the only reliable method for professional work, generating an ICC profile that compensates for your display's inaccuracies. Calibrate regularly to ensure your editing decisions reflect intention rather than display limitations, ensuring your work looks professional on any screen or print.

Comparison of RAW versus JPEG file formats

Shoot in RAW

Shooting in RAW format provides the digital equivalent of a film negative, preserving the sensor's complete luminance and color data. Unlike JPEGs, which discard data through compression, RAW files allow recovery of shadow detail and correction of white balance errors without quality loss. This extra information provides a wide safety net during post-processing. While RAW files require more storage, the flexibility they offer makes them essential for serious photography. Treat RAW as your raw material for interpretation, transforming editing from damage control into creative expression.

Illustration of essential keyboard shortcuts for photo editing

Keyboard Shortcuts

Keyboard shortcuts transform editing from a mechanical series of menu clicks into a fluid, almost meditative practice. The cognitive load of constantly reaching for a mouse fragments creative focus. Mastery of shortcuts for tools like brush size, layer visibility, and zooming allows you to navigate complex adjustments without conscious thought. Start by learning the five tools you use most frequently. Over time, this efficiency compounds, reducing physical strain and allowing your attention to remain fixed on the image rather than the interface.

Adjustment layers panel showing non-destructive editing options

Adjustment Layers

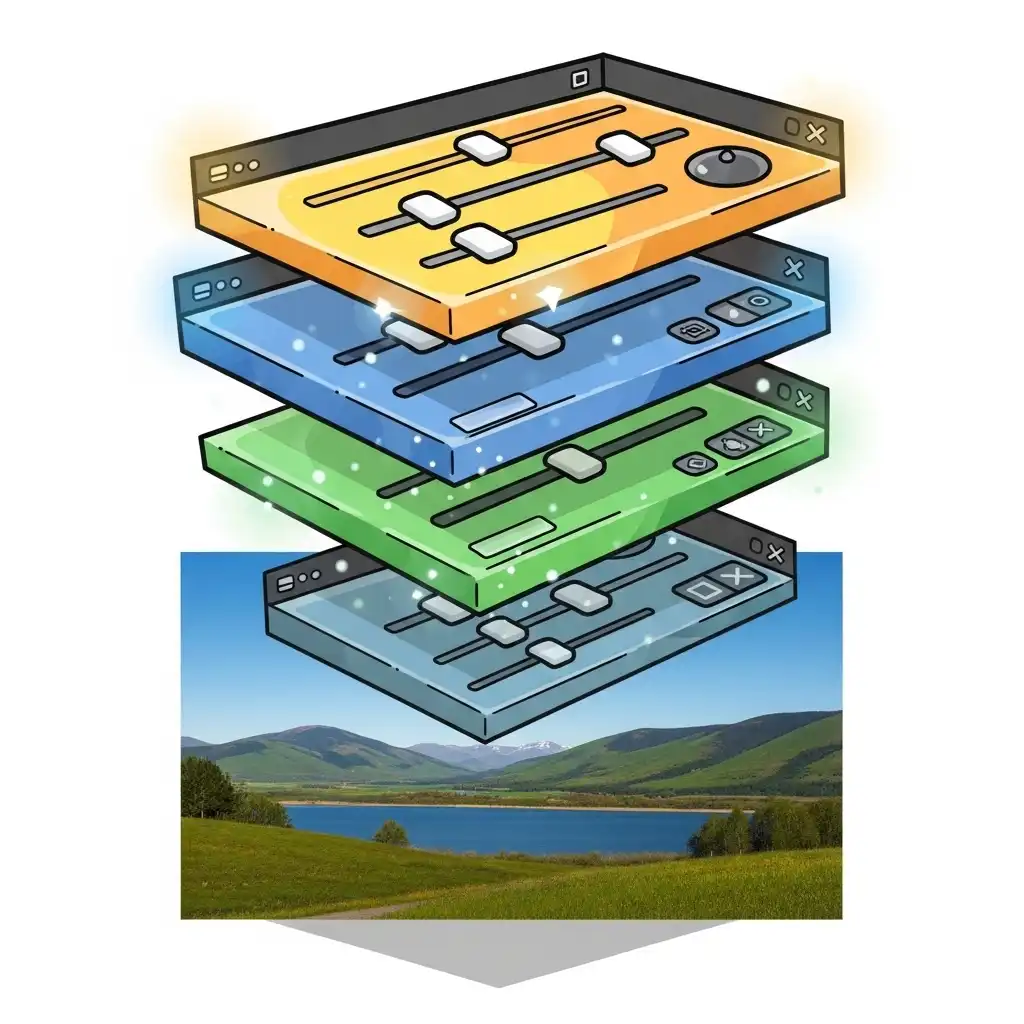
Adjustment layers represent a profound innovation, transforming color correction from destructive alterations into flexible instructions applied atop your image. Unlike direct adjustments, these layers float above your content and can be modified, masked, or deleted at any time. Professional workflows stack multiple adjustment layers—one for exposure, another for color balance, a third for contrast. This modular approach prevents cascading errors and encourages boldness, as no choice carries permanent consequences. Group and name them to keep your project organized.

Checking image edges to remove distracting elements

Check Edges

The edges of your frame function as psychological boundaries. Distracting elements near borders—a bright twig, a sliver of color, or an intruder—pull viewer attention away from your subject. Professional editors perform dedicated edge inspections before finalizing any image. Use cloning or healing tools to remove distractions, or subtle cropping to eliminate them. Sometimes, darkening edges with a gradient helps keep focus centered. Mastering this subtle discipline ensures your composition remains contained and your narrative impact isn't diluted by peripheral noise.

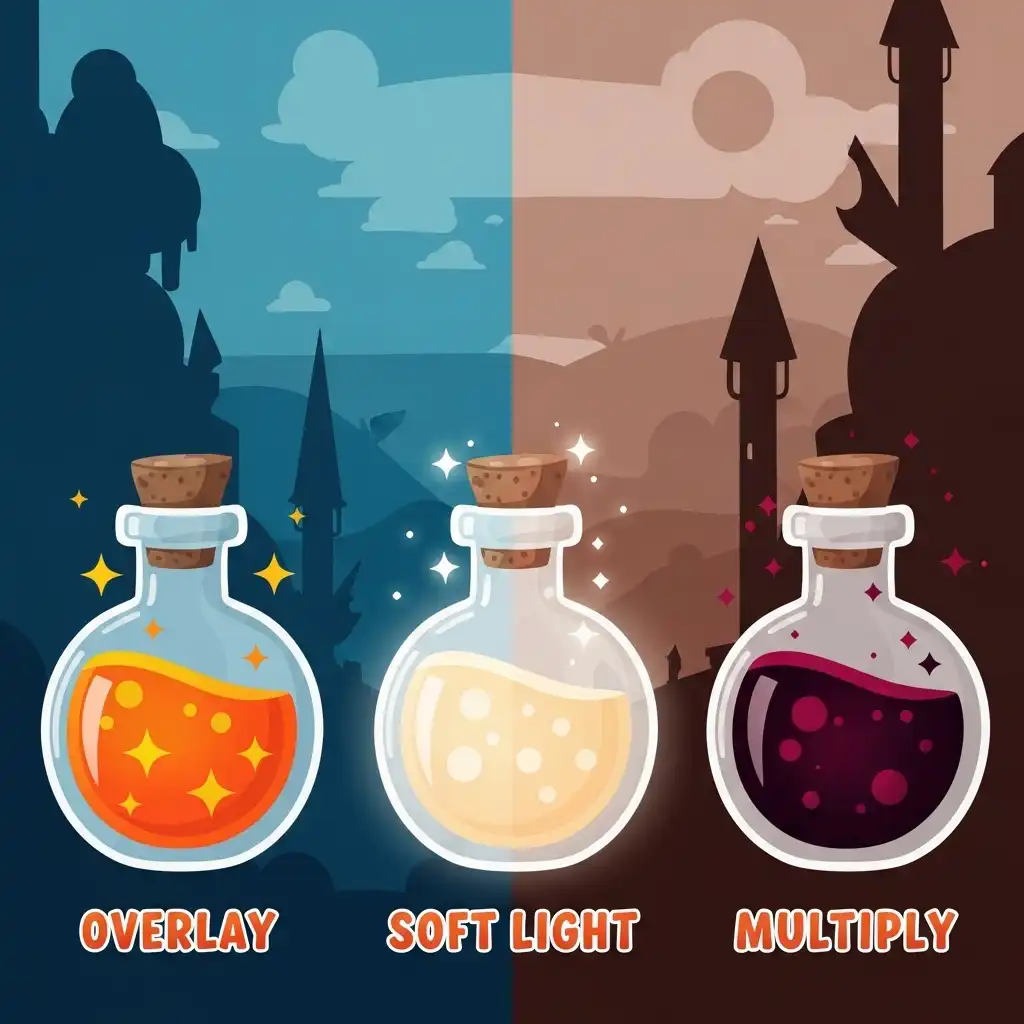
Demonstration of different blending modes in the layers panel

Blending Modes

Blending modes unlock creative control by defining how pixel values from one layer interact with those beneath it. Modes like Multiply darken images (great for shadows), Screen lightens them, and Overlay enhances contrast by doing both. Soft Light offers a gentler contrast boost. Combining these modes with opacity controls allows for sophisticated grading and compositing impossible through sliders alone. Experimentation is key; cycle through modes to discover unexpected interactions that can add atmospheric depth or texture to your images.

Photographer applying intentional editing adjustments

Intentional Editing

Intentional editing begins with a single question: does this change serve the photograph's purpose? This discipline protects images from the accumulation of adjustments that overwhelm authenticity. Restraint is a skill; many powerful images result from minimal intervention. Before editing, articulate what made you capture the moment—the light, the expression, the geometry—and ensure every adjustment amplifies that motivation. If a change distracts from your core intent, skip it. Powerful images communicate clearly rather than loudly.

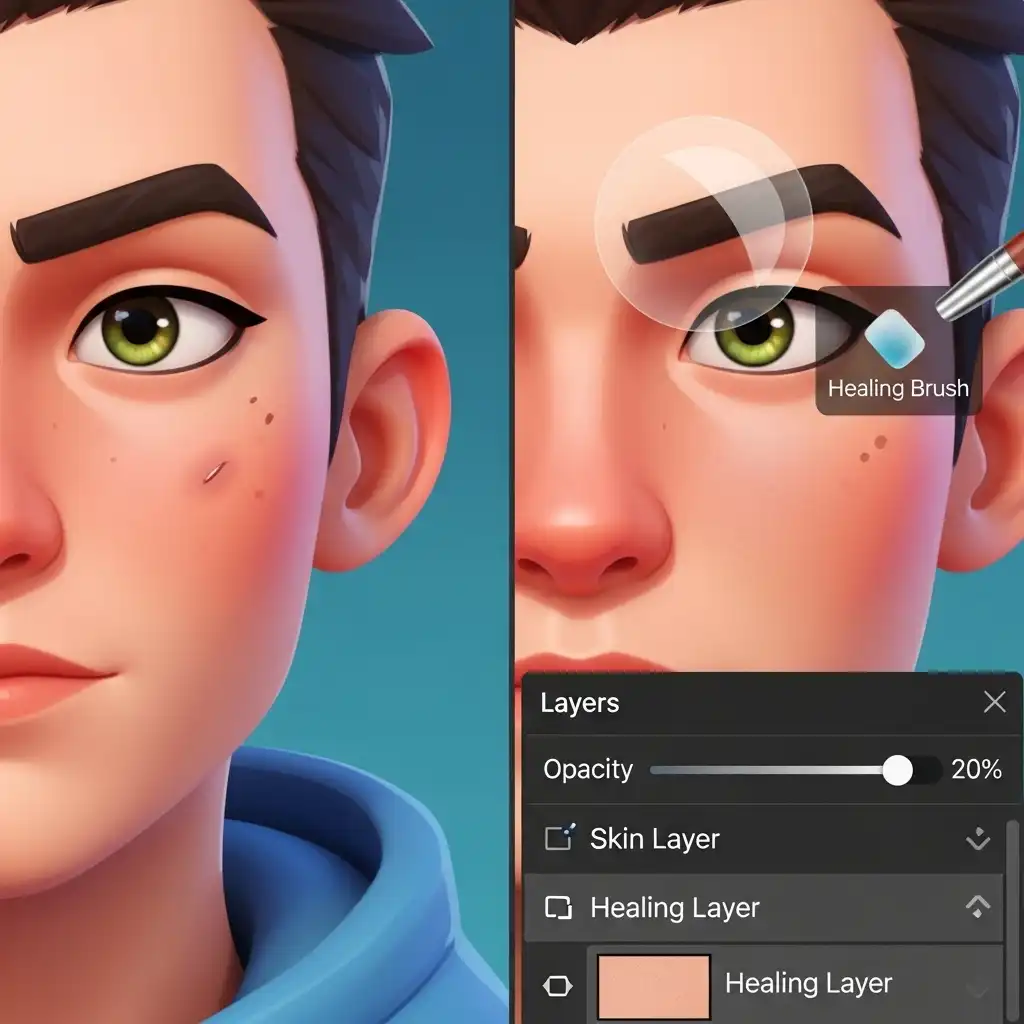
Using the Healing Brush tool to remove spots and blemishes

Healing Brush

The healing brush stands among the most frequently misused tools, often applied with heavy hands that erase character. Mastery requires understanding its behavior: it blends texture and color from a source to a target. For clean repairs, work at 100% opacity with a soft brush, sampling from areas with matching texture and lighting. For skin, use a separate layer to preserve texture while fixing discoloration. The goal is to remove distractions while preserving organic imperfections that communicate authenticity. Viewers should never notice where you healed.

Black and white conversion using channel mixer for better contrast

Better Black & White

Converting to black and white demands more than desaturation. Channel mixing unlocks precise control over how colors translate to grayscale. Emphasizing the blue channel darkens skies dramatically; boosting red brightens skin tones. Modern editors provide channel mixer panels to adjust these contributions. A flat conversion lacks depth, so use these tools to sculpt contrast and guide the eye. Remember that texture gains prominence in monochrome, so subtle clarity enhancements often help. The best B&W images balance contrast with tonal subtlety.

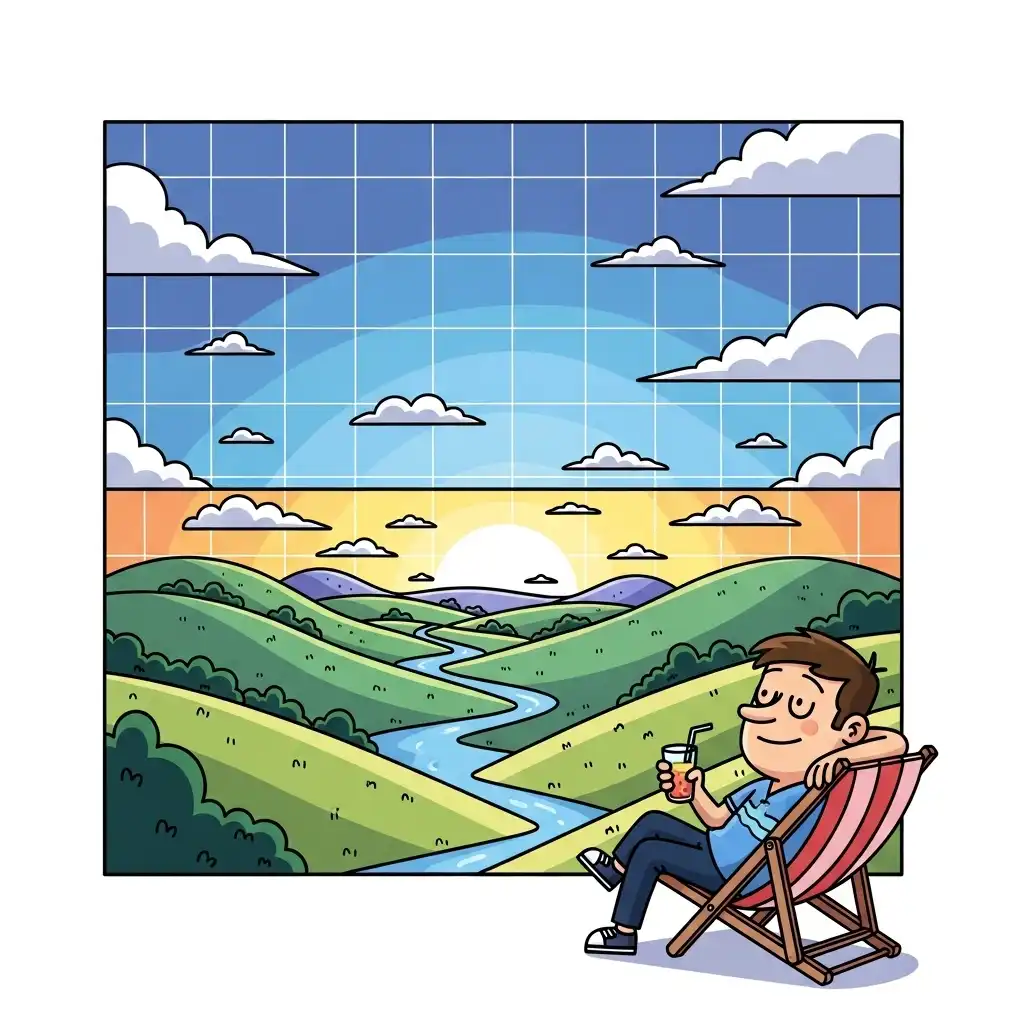
Straightening a tilted horizon line using grid guides

Straighten Horizons

Straightening horizons is fundamental. Human vision is sensitive to gravity; tilted horizons create subconscious unease. Use grid overlays to align horizons or vertical architectural lines perfectly. Even a one-degree tilt can undermine professional credibility. While auto-straighten tools exist, manual verification is safer. Exceptions exist for intentional Dutch angles in dynamic shots, but these must look deliberate. Develop the habit of checking alignment on every image; it ensures your composition feels stable and your viewer remains engaged without distraction.

Dodge and burn technique used to sculpt light and shadow

Dodge and Burn

Dodge and burn techniques sculpt light to enhance dimensionality. Based on darkroom methods, digital dodging lightens highlights while burning darkens shadows. Use separate layers set to Overlay mode and paint with a soft brush at low opacity (5-15%). Lighten areas where light naturally hits (foreheads, cheekbones) and darken recesses. This accentuates form and depth. Restraint is crucial; invisible execution is the goal. When done well, the image feels more alive and three-dimensional without looking processed.

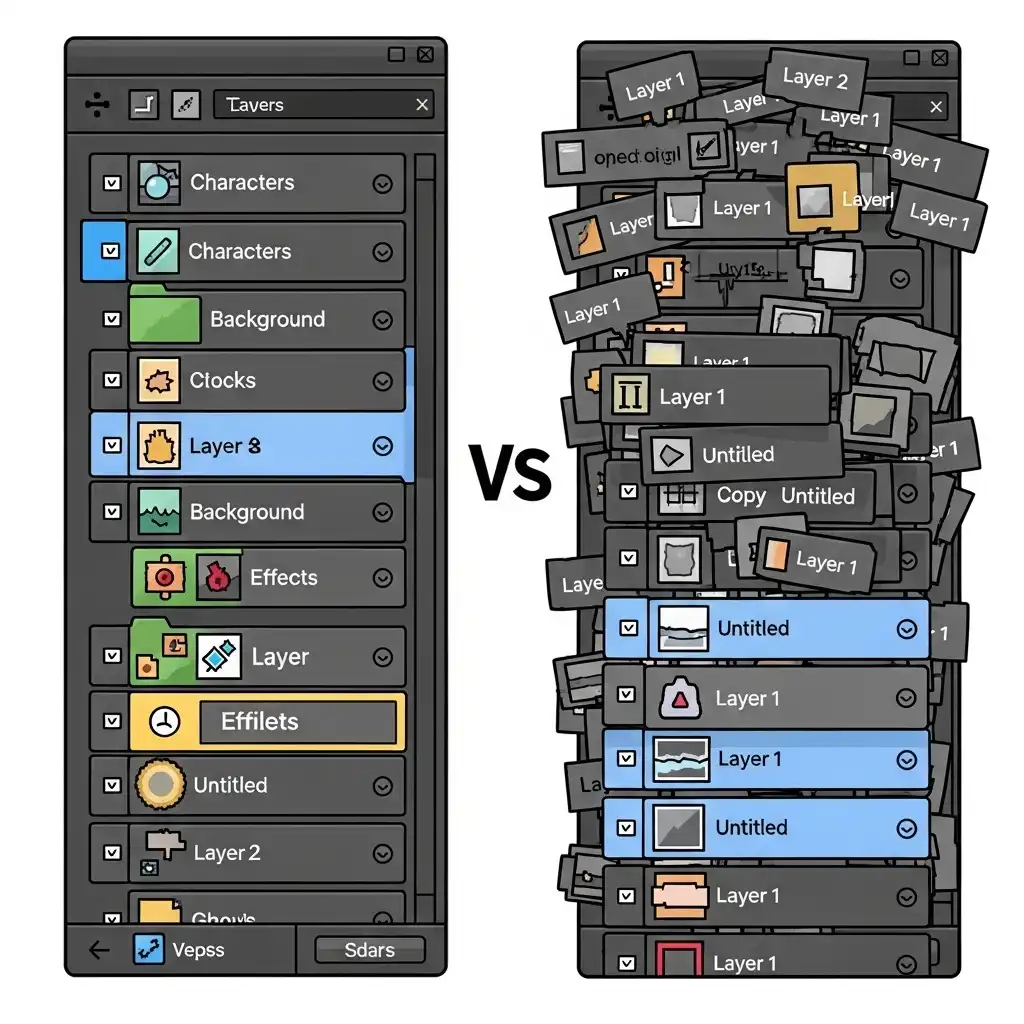
Organized layer stack with groups and color coding

Organize Layers

Layer organization transforms chaotic editing into navigable workflows. Rename layers immediately ('Sky Mask' instead of 'Layer 1') and group related adjustments into folders. Color-code these groups for visual clarity. This discipline pays off when you need to revise an edit days later. A messy stack creates friction that discourages experimentation; an organized one invites it. Treat layer management as foundational infrastructure for your creativity, ensuring you can always find and refine specific elements without frustration.

Next Page