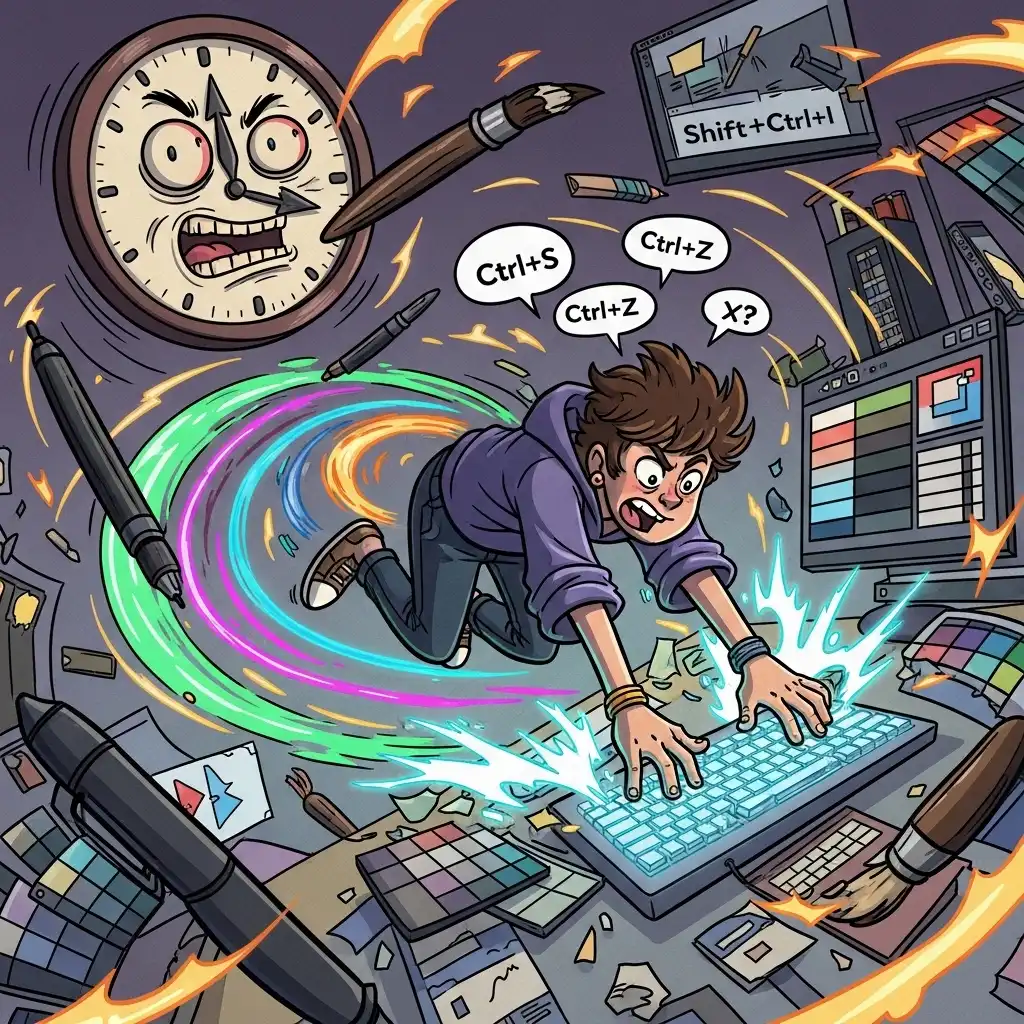
Watch a professional retoucher work and you will notice something strange: their hands barely leave the keyboard, and their eyes barely leave the image. Now watch a beginner: click, search, click, menu, click — every adjustment is a small expedition away from the photograph. The difference is not skill alone; it is keyboard shortcuts. Every reach for the mouse pays a cognitive tax: attention shifts from the image to the interface, and creative focus fragments into menu navigation.
In this guide you will learn why shortcuts transform photo editing, the five to learn first, how to build muscle memory that actually sticks, the intermediate categories that unlock real speed, and how to practice everything in our Photo Editor.
Why Keyboard Shortcuts Transform Photo Editing (It's Cognitive, Not Mechanical)
The real cost of mouse-driven editing is not the seconds per click — it is the context switch. Every trip to a menu forces your brain to abandon the visual problem (does this skin look right?) and solve an interface problem (where was that slider again?). Those switches accumulate: focus fragments, flow state never settles, and editing becomes a mechanical chore instead of a meditative practice.
Keyboard shortcuts eliminate the switch. Your hands stay on the keys, your eyes stay on the pixels, and adjustments become reflexes instead of decisions. The benefits compound on three levels: speed, because frequent actions take milliseconds; precision, because you adjust while watching the image instead of the cursor; and endurance, because less physical strain reaches your wrist and shoulder over long sessions.
The 5 Shortcuts to Learn First (Beginner Priority List)
You do not need to memorize fifty shortcuts — you need the five that cover your most frequent actions.
- Zoom controls and 100% view: judging detail at the wrong magnification is guesswork, so instant zoom in, zoom out, and actual-pixels view are the foundation of honest eyes.
- Brush size up and down: usually the bracket keys, because resizing by keyboard keeps your stroke rhythm unbroken.
- Undo and redo: the safety net that makes boldness free — fast undo encourages experimentation.
- Layer visibility toggle: the quickest before/after comparison for any single adjustment.
- The global before/after toggle: often the backslash key — the anchor that prevents gradual over-editing.
Master these five and roughly eighty percent of the speed benefit is already yours; everything else is expansion, not foundation.
How to Build Shortcut Muscle Memory (Step by Step)
- Choose only two or three new shortcuts per week: ambition is the enemy of retention.
- Write them on a sticky note at the edge of your monitor: peripheral visibility beats memorization apps.
- Force yourself to use them even when slower at first: because the early clumsiness is the price of later automaticity.
- Practice inside real edits, not drills: muscle memory forms in context, so apply each shortcut to actual photographs during normal sessions in our Photo Editor.
- Add the next batch only when the current one fires without thought: if you must remember it, it is not memory yet.
- Review monthly: notice which actions still send you to menus, and promote those into your next learning batch.
In eight to ten weeks of consistent practice, your keyboard becomes an extension of your intention.
Shortcut Categories That Unlock Real Speed (Intermediate Level)
Once the basics are automatic, stop memorizing lists and start mastering categories. Navigation: pan, fit-to-screen, and zoom-to-selection keep you moving through the image without breaking flow. Tools: instant switching between brush, healing, crop, and sampler keeps corrections conversational. Layers: new layer, duplicate, merge, group, and visibility toggles — the vocabulary of non-destructive workflow at keyboard speed. Adjustments: opening curves, levels, and color dialogs directly instead of hunting menus. View: toggling masks, guides, and proof modes to verify decisions instantly.
Categories matter more than individual shortcuts because they teach you how the editor thinks — once you understand the logic, new shortcuts slot into place instead of competing for memory.
How to Speed Up Your Photo Editing Workflow Beyond Shortcuts
Shortcuts are one pillar of speed, not the whole building. Pair them with a consistent editing order — duplicate, white balance, exposure, color, selective edits, noise reduction, sharpening — so decisions never get revisited. Use presets for repetitive technical baselines while keeping creative decisions manual. Batch-process series shot under identical light instead of repeating identical corrections. Keep your workspace organized: named layers, grouped adjustments, clean panels. And calibrate your monitor, because fast wrong decisions are worse than slow right ones. Together these habits turn speed from a trick into a system — shortcuts remove friction, workflow removes waste.
Common Shortcut Mistakes (and How to Fix Them)
- Trying to learn everything at once: drowning in key combinations, and abandoning the effort within a week — go small and compound.
- Practicing shortcuts in isolation instead of in real edits: so they never bind to context.
- Ignoring tool context: many keys change meaning depending on the active tool, and confusion here feels like memory failure when it is actually design.
- Refusing to customize: if your editor allows remapping, align keys to your most-used actions instead of inheriting someone else's priorities.
- Chasing speed without order: shortcuts accelerate whatever workflow you have — including a chaotic one — so fix the sequence first, then make it fast.
Frequently Asked Questions
What are the most important keyboard shortcuts for photo editing?
How long does it take to learn photo editing shortcuts?
Do keyboard shortcuts really make you edit faster?
Can I use keyboard shortcuts in a free online photo editor?
Should I customize shortcuts or learn the defaults?
The Takeaway
Keyboard shortcuts transform editing from menu-clicking into flow: hands on keys, eyes on pixels, decisions uninterrupted. Start with the five high-frequency shortcuts, add two or three per week inside real edits, master categories instead of lists, and pair speed with a disciplined workflow order. Build your reflexes in our Photo Editor — your files never leave your browser.
Key Takeaways:
- The mouse tax is cognitive, not mechanical.
- The first five shortcuts deliver most of the benefit.
- Muscle memory forms in context, not in drills.
- Categories beat lists.
- Speed only matters when the workflow beneath it is sound.