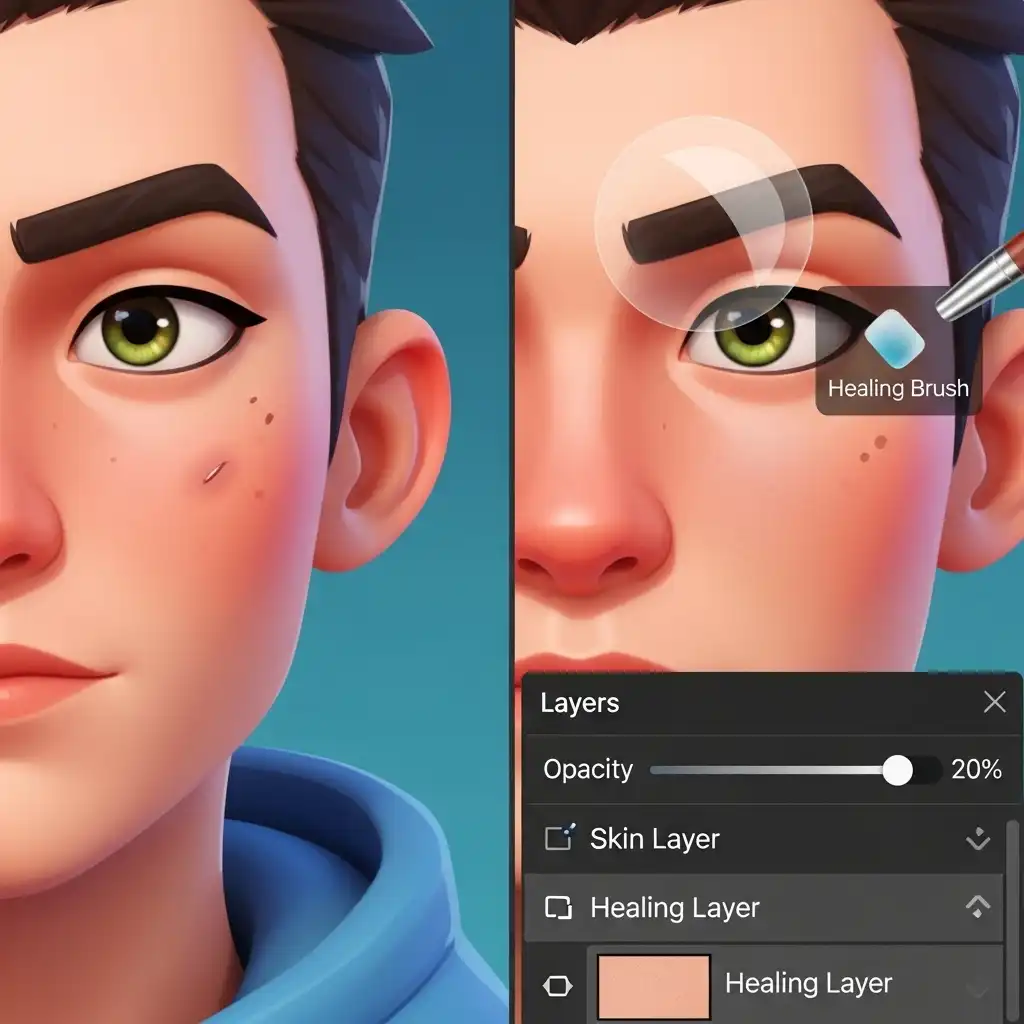
The healing brush is the most misused tool in photo retouching. In inexperienced hands it does not repair portraits — it erases them: skin becomes wax, pores disappear, freckles vanish, and the person in the photograph starts to resemble a mannequin of themselves.
Yet used with understanding and restraint, the same tool removes distractions so cleanly that nobody can point to where it touched. The difference lies in knowing what the healing brush actually does, which imperfections deserve removal and which define identity, and how to preserve the texture that makes skin look alive.
In this tutorial you will learn the healing brush versus clone stamp decision, a step-by-step workflow for natural skin retouching, and the mistakes that produce the plastic look — all practicable in our Photo Editor.
What the Healing Brush Actually Does (and How It Differs from Clone Stamp)
The healing brush and the clone stamp both copy information from a source area to a target area, but they finish the job differently. The clone stamp replicates pixels exactly: same texture, same color, same luminance — a precise duplication ideal when you need complete control over patterns and edges.
The healing brush is smarter: it takes texture from the source but blends color and luminance to match the target's surroundings, so the repair melts into the skin instead of sitting on top of it. That is why healing is the default for skin, smooth surfaces, and organic blemishes, while cloning wins for precise work: repeating patterns, architectural lines, and edges where blending would smear boundaries. Knowing which tool to reach for is half of mastery; the other half is restraint.
Temporary vs Permanent: Which Imperfections to Remove (and Which to Keep)
Professional retouching follows an ethical and aesthetic rule: remove what is temporary, preserve what is identity. Acne, transient blemishes, dust on the lens, stray hairs, food on a child's face — these are distractions that will vanish on their own in life, so removing them in the image honors the person rather than altering them.
Scars, moles, freckles, laugh lines, the texture of a life lived — these are permanent features that carry character and story; erasing them does not improve the portrait, it replaces the person with a stranger. When in doubt, ask: will this still be here next month? If yes, keep it unless the subject requests otherwise. If no, heal it. This single question separates retouching that serves people from retouching that overwrites them.
How to Use the Healing Brush Step by Step (Natural Skin Retouching)
- Create a new empty layer and set the healing brush to sample all layers — this keeps every repair reversible and adjustable through layer opacity.
- Zoom to 100%, because blemishes judged at any other magnification get over- or under-treated.
- Choose a soft brush slightly larger than the blemish — big enough to cover it, small enough to avoid touching surrounding features.
- Sample from an area with matching texture and lighting: nearby skin on the same plane and in the same light, never across a shadow boundary.
- Work in single dabs or very short strokes, one blemish at a time; dragging the healing brush across skin accumulates smearing.
- Vary your sampling source constantly, because reusing one source creates repeating texture that the eye reads as fake.
- When finished, lower the retouch layer's opacity slightly, to around 80–90%, if the skin looks too perfect.
- Zoom out to viewing distance and confirm the face still looks like the person — and like skin. Practice the full workflow in our Photo Editor, where healing and cloning tools work on a complete layer stack.
How to Remove Blemishes Without Losing Skin Texture
The plastic look never comes from a single repair — it comes from accumulation: dozens of dabs that each smooth a little, until the pores surrender. Three disciplines preserve texture. First, treat only what needs treating: fewer repairs mean more original skin survives.
Second, keep repairs small and precise: a dab that covers only the blemish leaves surrounding pores untouched, so texture continuity survives. Third, respect the grain: after heavy retouching, skin can look cleaner than the rest of the image, and a whisper of uniform grain over the retouched layer restores coherence.
Advanced retouchers go further with frequency separation — splitting color and tone from surface detail so tone can be evened without touching pores — but even without it, the three disciplines above keep skin believable.
Common Healing Brush Mistakes (and How to Fix Them)
- Using a brush far larger than the blemish, smearing neighboring texture into a soft patch.
- Sampling from mismatched lighting or texture zones — skin healed from a forehead onto a cheek crosses a light boundary and reads as a stain.
- Healing directly on the background layer, making every repair permanent and unrevisable.
- Reusing a single sample point, stamping the same pore pattern across the face like wallpaper.
- Removing character marks — moles, scars, freckles — that the subject identifies with.
- Healing across edges like hairlines, lips, or eyelids, where blending smears boundaries into mush.
- And judging the work only at 100%: repairs that vanish under magnification can still read as waxy at arm's length — always finish with a full-view check.
Frequently Asked Questions
What is the difference between the healing brush and the clone stamp?
How do I retouch skin without making it look plastic?
Which blemishes should I remove in portrait retouching?
Should the healing brush work on a separate layer?
Can I use the healing brush in a free online photo editor?
The Takeaway
The healing brush is a scalpel, not a mop: precise, reversible, and invisible when used with discipline. Remove the temporary, preserve the permanent; work small on a separate layer; sample matching texture and light; vary your sources; and finish every session with a full-view check that the person still looks like themselves — only rested.
Key Takeaways:
- healing blends while cloning copies;
- identity marks stay unless the subject decides otherwise;
- texture continuity is what separates natural from plastic;
- separate layers make retouching reversible;
- and the best compliment a retoucher can receive is "you look like yourself," never "what did you change?"
Practice it in our Photo Editor — your files never leave your browser.