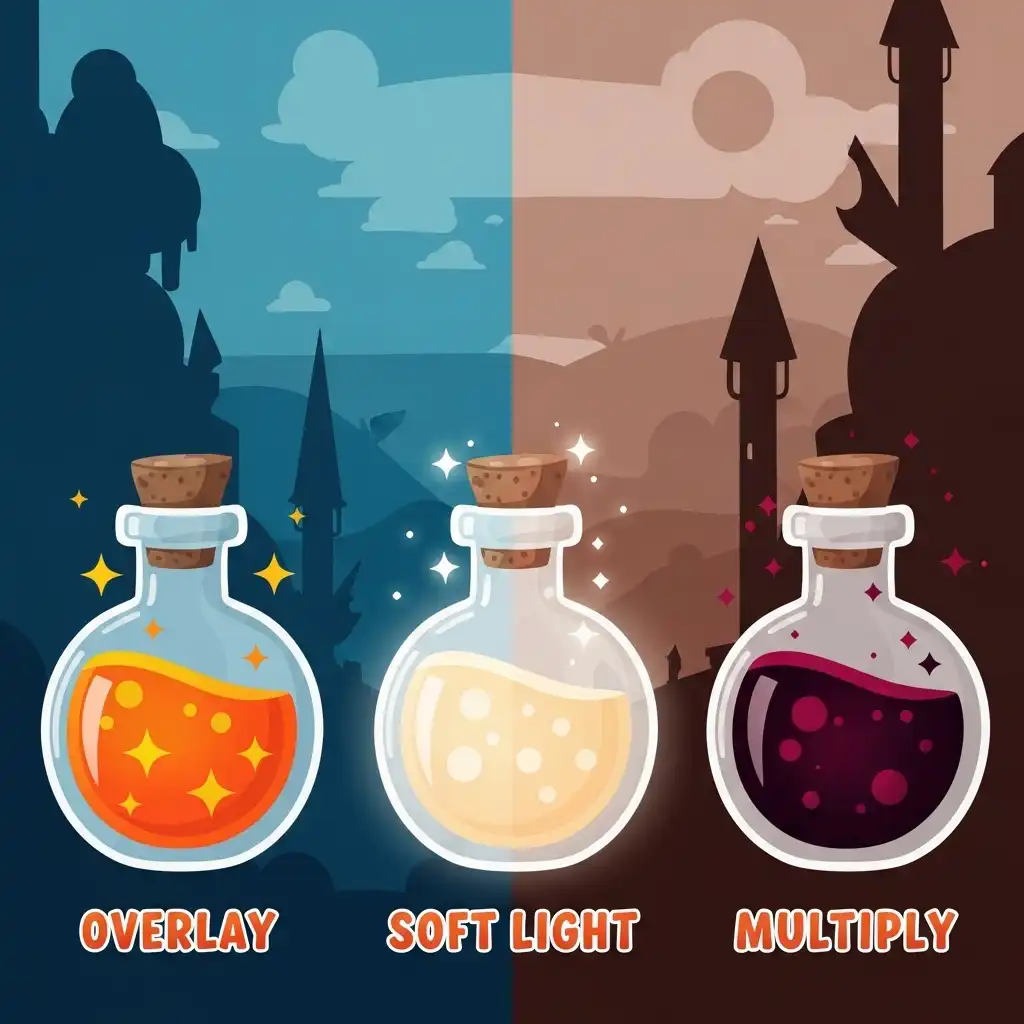
Sliders adjust what you already have; blending modes change the rules of how layers interact. That single shift is why blending modes unlock creative control that no exposure or contrast slider can reach. Instead of simply replacing pixels beneath them, blending modes define exactly how pixel values from one layer mathematically interact with those below — darkening, lightening, boosting contrast, or shifting color.
In this guide you will learn what blending modes actually do, the four categories every editor should know, how Multiply, Screen, Overlay, and Soft Light differ in practice, five real-world applications you can try today, and how to experiment safely in our Photo Editor.
What Are Blending Modes in Photo Editing (and Why They Matter)
By default, a new layer either replaces everything below it or sits transparently on top. A blending mode changes that relationship: it tells the software to calculate each pixel's final appearance based on both the active layer (the blend layer) and the layers beneath it (the base layer). The result is not a simple cover-up but an interaction.
This matters because many professional effects — cinematic color grading, natural-looking dodging and burning, seamless texture compositing, atmospheric depth — are physically impossible to build with opacity sliders alone. Blending modes turn your layer stack into a laboratory where light, shadow, and color mix according to optical logic rather than brute-force painting. Master them, and your edits stop looking applied and start looking inherent.
The Four Categories of Blending Modes
Every standard blending mode belongs to one of four families, and knowing the family tells you what the mode will do before you even click it. Darken modes look at both layers and keep whichever pixels are darker, discarding lighter ones — perfect for dropping out white backgrounds or deepening shadows. Lighten modes do the opposite, keeping only brighter pixels and dropping darker ones, which makes them ideal for adding glow, fire, or light leaks.
Contrast modes combine both behaviors: they darken areas darker than middle gray and lighten areas lighter than middle gray, boosting overall punch. Component modes isolate specific attributes like hue, saturation, color, or luminosity, letting you borrow just the color from one layer while keeping the texture of another. Once you think in families instead of memorizing a list of twenty-plus names, choosing the right mode becomes intuitive.
Multiply Mode: Deepening Shadows and Removing White
Multiply does exactly what its name suggests: it multiplies the base and blend values, always producing a darker result. Anything multiplied by white disappears, which is why Multiply is the fastest way to drop a white background without masking — place a logo or sketch on a white canvas over a photograph, switch to Multiply, and the white vanishes while the dark lines integrate perfectly.
For color grading, a solid color fill layer set to Multiply acts as a rich, deep tint that respects the shadows beneath it. And for manual burning, painting with a soft dark brush on a Multiply layer darkens recesses naturally without crushing highlight detail the way a direct exposure slider would. Think of Multiply as stacking photographic negatives: each layer absorbs more light, deepening the image organically.
Screen Mode: Adding Light and Removing Black
Screen is the mathematical opposite of Multiply: it lightens the image by multiplying the inverse of the pixel values, always producing a brighter result. Anything screened with black becomes invisible, making Screen the go-to mode for compositing light leaks, lens flares, fireworks, or star fields captured on black backgrounds.
Place the effect layer above your image, switch to Screen, and the black disappears while the light blends seamlessly into the scene. For dodging, painting with a soft white brush on a Screen layer gently lifts highlights and midtones without blowing out the brightest pixels. Screen behaves like projecting multiple slides onto the same wall: light accumulates, shadows recede, and the result feels illuminated rather than painted.
Overlay vs Soft Light: The Contrast Powerhouses
Overlay and Soft Light both belong to the contrast family, but their intensity differs significantly. Overlay applies a strong version of the rule: it multiplies dark pixels and screens light pixels using middle gray as the pivot point. The result is high contrast, vivid punch, and dramatic separation — excellent for gritty textures, architectural drama, or bold cinematic grades.
Soft Light applies the exact same logic but gently, producing a subtler, more diffused contrast boost that rarely clips shadows or highlights. This makes Soft Light the undisputed king of dodging and burning: create a neutral gray layer, set it to Soft Light, and paint with low-opacity white to dodge or black to burn. The adjustments sculpt dimensionality invisibly, because Soft Light enhances existing form without introducing harsh transitions. Choose Overlay when you want drama; choose Soft Light when you want believability.
5 Practical Uses for Blending Modes (With Real Examples)
- Dodging and burning: a 50% gray layer set to Soft Light lets you paint light and shadow non-destructively, sculpting cheekbones, product edges, or landscape depth without touching original pixels.
- Cinematic color grading: a gradient map or solid color layer set to Overlay or Soft Light at 15–30% opacity bathes the image in unified mood while letting the original colors breathe beneath.
- Texture compositing: overlaying concrete, paper, or film grain onto a portrait via Soft Light or Overlay adds tactile authenticity that flat filters cannot replicate.
- Sky replacements and double exposures: Screen drops out dark skies to reveal stars; Multiply drops out white clouds to deepen blues.
- Color matching: setting a layer to Color borrows only the hue and saturation from the blend layer while preserving the luminosity of the base, perfect for harmonizing mismatched elements in a composite.
Practice all of these directly in our Photo Editor, where layer blend modes and opacity controls live together in one panel.
Common Blending Mode Mistakes (and How to Fix Them)
- Cycling through modes randomly without understanding the underlying family, treating discovery as luck instead of intention.
- Leaving blend layers at 100% opacity: most professional blending happens between 10% and 40%, where the effect feels inherent rather than applied.
- Using Multiply or Screen when a contrast mode was needed, resulting in crushed shadows or blown highlights instead of balanced punch.
- Ignoring the base layer: a blending mode's result depends entirely on what lies beneath, so the same texture produces completely different results over a bright portrait versus a dark landscape.
- And forgetting that blending modes interact with adjustment layers too — placing a curves adjustment inside a clipped group changes how the blend layer calculates its math.
Frequently Asked Questions
What do blending modes do in simple terms?
What is the difference between Multiply and Screen?
When should I use Overlay vs Soft Light?
Can I use blending modes for color grading?
Are blending modes available in a free online photo editor?
The Takeaway
Blending modes transform your layer stack from a pile of transparencies into an optical laboratory. Remember the four families — darken, lighten, contrast, component — and let the family guide your choice before you click. Experiment boldly in our Photo Editor — your files never leave your browser.
Key Takeaways:
- Multiply darkens and removes white.
- Screen lightens and removes black.
- Overlay boosts contrast dramatically while Soft Light does it gently.
- Most professional blending lives between 10% and 40% opacity.
- A 50% gray layer set to Soft Light is the ultimate non-destructive dodging and burning canvas.