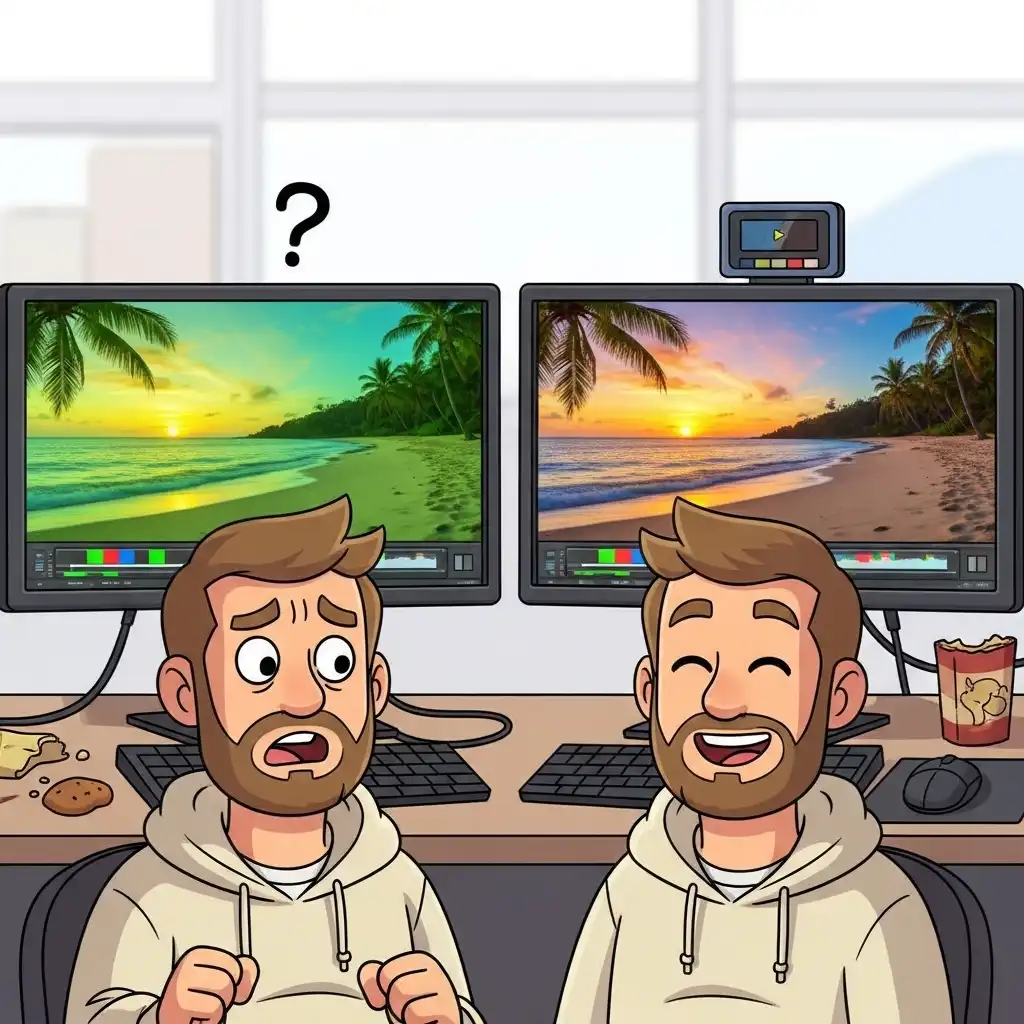
Every editor knows this moment of betrayal: the portrait that glowed perfectly on your screen at night looks pale and greenish on your phone the next morning — and worse in print. The problem is rarely the edit; it is the witness. An uncalibrated display presents a distorted reality where colors appear warmer or cooler than they truly are, and every correction you make compensates for that fiction. In this guide you will learn why photos look different across screens, what calibration actually does, how to calibrate your monitor for photo editing step by step (with or without a colorimeter), the ideal brightness and Kelvin values, and how to verify color decisions with confidence using our Color Picker once your display finally tells the truth.
Why Your Photos Look Different on Other Screens
Every panel leaves the factory with its own personality: a cool cast, an over-pumped brightness, a gamma curve that crushes shadows. When you edit on such a display, you do not correct the image — you correct the image plus the display's errors, and the result looks right only on that one lying screen. Everywhere else — phones, laptops, prints — the compensation you baked in appears as a color cast of its own. That is why "why do my photos look different on other screens" is one of the most searched questions in editing: the answer is almost never the export settings, it is the uncalibrated monitor where the decisions were made. Calibration removes that variable, turning your display from an opinion into a reference.
What Monitor Calibration Actually Does (ICC Profiles Explained)
Calibration is measurement followed by compensation. A colorimeter — a small device that hangs on your screen — displays and reads hundreds of known color patches, comparing what your monitor produces against what it should produce. The software then generates an ICC profile: a translation table that tells your operating system how to adjust every color sent to that display so the output matches a known standard. From then on, white is truly white, gray is truly neutral, and your edits travel correctly to other calibrated devices and to print labs. Hardware calibration is the only reliable method for professional work precisely because it measures with a sensor instead of your adapted, easily fooled eyes.
How to Calibrate Your Monitor for Photo Editing: Step by Step
- Warm up the monitor for about thirty minutes — panels drift while cold.
- Set the native resolution and disable eco, vivid, and dynamic contrast modes that change brightness behind your back.
- Set target brightness around 100–120 cd/m² for mixed web and print work.
- Set the white point to 6500K (D65) for web-first workflows, or 5000K (D50) if you judge prints under standard viewing light.
- Set gamma to 2.2, the standard for photographic tone on screens.
- Run your calibration software, hang the colorimeter, and let it read the patches.
- Save and apply the ICC profile, confirming the operating system is actually using it.
- Control the room: neutral, indirect ambient light with no glare on the screen.
- Put recalibration on the calendar — panels drift with age, and a profile is a snapshot, not a promise.
Best Monitor Settings for Photo Editing (Quick Reference)
- Brightness: 100–120 cd/m² — bright enough to judge shadows, dim enough to match paper and phones.
- White point: D65 (6500K) for web, D50 (5000K) for print-critical work.
- Gamma: 2.2 for photographic tonal reproduction.
- Resolution: always native, because scaling distorts perceived sharpness.
- Picture modes: off — no vivid, no eco, no game mode.
- Panel: IPS-class for stable viewing angles, with a hood if your room is bright.
- Ambient light: neutral and indirect, ideally matching the display's color temperature, because the room tints your perception as surely as the panel tints the image.
Hardware vs Software Calibration: Which One Do You Need?
Software calibration — the free wizards built into operating systems — adjusts gray balance and gamma through your eyes using test patterns. It is better than nothing and a fair starting point, but your eyes are the instrument being fooled, so results stay approximate. Hardware calibration with a colorimeter removes the human variable: entry-level devices cost less than a good lens filter and deliver objective, repeatable profiles. Rule of thumb: hobbyists sharing online can begin with software calibration plus disciplined ambient light; anyone selling prints, serving clients, or building a portfolio should own a colorimeter. And whichever route you take, recalibrate every two to four weeks — displays drift, and stale profiles lie politely.
Common Monitor Calibration Mistakes (and How to Fix Them)
- Calibrating a cold monitor, then editing hours later on a drifted panel.
- Calibrating in one lighting environment and editing in another — the room is part of the system.
- Leaving eco or vivid modes enabled, so the display ignores your profile whenever it feels like it.
- Calibrating once and never again, trusting a years-old profile on an aged panel.
- Judging prints on a screen set to 300 cd/m², then blaming the lab.
- Ignoring ambient color temperature: a warm desk lamp tints your perception cool, and you compensate straight into a cast.
- Assuming an expensive monitor needs no calibration — every panel drifts; price only changes how gracefully.
Frequently Asked Questions
How often should I calibrate my monitor for photo editing?
Why do my photos look darker or brighter on my phone?
Can I calibrate my monitor without a colorimeter?
What brightness and Kelvin should I use for photo editing?
Does calibration matter if I only share photos online?
The Takeaway
Calibration is the invisible foundation of color-accurate editing: it converts your display from an opinion into a reference, so every decision you make travels honestly to every other screen and every print. Warm up the panel, set sane targets (100–120 cd/m², D65, gamma 2.2), measure with a colorimeter when your work matters, control the room, and recalibrate on schedule.
Key Takeaways:
- Uncalibrated monitors guarantee inconsistent results.
- ICC profiles translate your display toward truth.
- Hardware beats eyes.
- Drift is inevitable, so recalibrate.
- Once calibrated, color tools finally tell you the truth.
Verify your next palette in our Color Picker — your files never leave your browser.