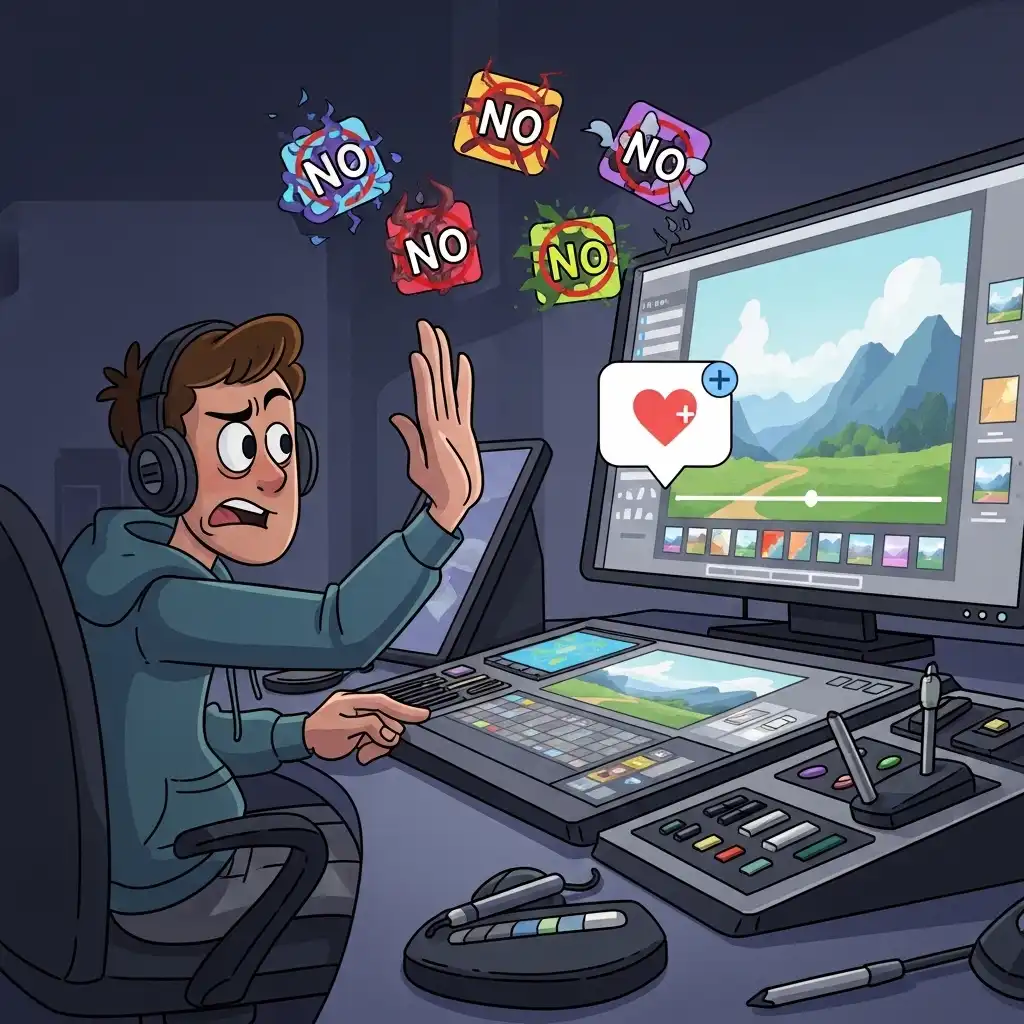
Every editor knows the feeling: you sit down to fix one small thing, and an hour later the image looks nothing like the moment you captured. The colors are electric, the contrast is crushing, the skin is plastic, and the photograph has lost the very quality that made you press the shutter in the first place. This is the trap of over-editing, and it happens not because of bad tools, but because of missing intention.
Intentional editing begins with a single, ruthless question: does this change serve the photograph's purpose? In this guide you will learn how to avoid over-editing photos, how to build an intentional photo editing workflow, why the "less is more" principle is a professional discipline rather than a limitation, and how to know exactly when a photo is finished — all practicable in our Photo Editor.
What Intentional Editing Actually Means
Intentional editing is the practice of making every adjustment answer a creative question rather than fill time. It is the opposite of slider-driven editing, where curiosity or boredom pushes contrast, saturation, and clarity upward until the image screams. Before an intentional editor touches a single tool, they articulate what made them capture the moment: the quiet light, the fleeting expression, the geometric tension, the mood of the room.
Every subsequent decision — white balance, exposure, color grading — is measured against that original motivation. If an adjustment amplifies the core intent, it stays; if it distracts from it, it is skipped, no matter how technically impressive it looks. This discipline transforms editing from a performance of skill into an act of translation, where the final image communicates the photographer's experience rather than the software's capabilities.
The Trap of Over-Editing (and Why It Happens)
Over-editing rarely happens in one dramatic move. It accumulates through small, incremental changes that look fine in isolation but compound into something unrecognizable. A slight contrast boost makes the image pop, so you add a little saturation to keep up; the saturation pushes the skin too warm, so you cool the shadows; the cool shadows feel flat, so you add clarity; the clarity amplifies noise, so you smooth it out.
Each step feels justified, yet the sum betrays the photograph. This happens because our eyes adapt to changes within minutes, losing the memory of how the image looked five adjustments ago. It also happens because modern tools make extreme edits effortless, and the dopamine of a "wow" effect masks the loss of authenticity. The professional defense against this trap is not willpower — it is system.
How to Edit with Intention: Step by Step
- Before opening the software, write or speak one sentence about why you captured the image: "the exhaustion in her hands after the shift," "the stillness of the fog over the lake," "the neon reflecting on wet pavement." This sentence is your anchor.
- Open the image in our Photo Editor and look at it for thirty seconds without touching a tool. Let the photograph tell you what it needs, rather than telling it what you want to do.
- Make foundational corrections first — white balance, exposure, lens defects — because these restore the scene's truth rather than imposing a style.
- For every creative adjustment, ask the anchor question: does this serve the sentence I wrote? If the answer is yes, apply it; if the answer is no or "maybe," skip it.
- Use the before/after toggle constantly, comparing your progress not just to the raw file but to your memory of the scene.
- Step away from the screen for five minutes before the final export; returning with fresh eyes instantly reveals excess.
- Export only when the image feels inevitable — as if it could not have been edited any other way.
The 'Less is More' Principle in Photo Editing
"Less is more" is not about doing nothing; it is about doing only what matters. A powerful image often results from minimal intervention because the capture itself carried the weight: perfect light, decisive moment, strong composition. When the foundation is strong, heavy editing competes with the subject instead of supporting it.
Restraint is a skill that takes years to develop, because beginners often confuse visibility with value — if the edit is obvious, they feel they have done work. Professionals know the opposite: the best edit is the one the viewer never notices, because their attention stays entirely on the subject and the emotion. This does not mean avoiding strong looks — a deliberately harsh, high-contrast grade can be deeply intentional, provided it serves the narrative. The rule is not "always subtle"; the rule is "always purposeful."
How to Know When a Photo Is Finished Editing
The hardest question in editing is not how to start, but when to stop. A photograph is finished when three conditions are met. First, it passes the anchor test: every adjustment serves the original motivation for the capture. Second, it passes the fresh-eyes test: after a break, returning to the image reveals nothing that screams for attention or correction. Third, it passes the subtraction test: if you toggle off your last three adjustments and the image does not lose something essential, those adjustments were excess and should stay off.
Many editors add a final step: view the image on a different device or in a different lighting environment, because context shifts reveal over-processing that a familiar screen hides. When all three tests pass, export and move on — perfection is a myth, and endless tweaking is just procrastination disguised as craft.
Common Intentional Editing Mistakes (and How to Fix Them)
- Editing without an anchor, so every slider gets pushed out of curiosity rather than purpose — write your sentence first.
- Chasing trends instead of serving the image: a cinematic teal-and-orange grade looks striking on a travel reel but suffocates an intimate family portrait.
- Using presets as finish lines instead of starting points: a preset applies someone else's intention to your photograph; use it as a baseline, then adapt or reduce it until it matches your anchor.
- Ignoring the before/after toggle, so adaptation blinds you to cumulative excess — make the toggle reflexive.
- Confusing technical perfection with emotional resonance: a flawlessly exposed, noise-free, sharpened image can still feel empty if the editing erased what made the moment human.
Frequently Asked Questions
What is intentional photo editing?
How do I avoid over-editing my photos?
What does 'less is more' mean in photography?
How do I know when a photo is finished editing?
Can I practice intentional editing in a free online photo editor?
The Takeaway
Intentional editing is the discipline of letting the photograph lead. Write your anchor sentence before you touch a tool, measure every adjustment against it, use the before/after toggle as a compass, and stop when the image feels inevitable rather than impressive. Practice intention in our Photo Editor — your files never leave your browser.
Key Takeaways:
- Over-editing accumulates through small, adapted increments.
- "Less is more" means purposeful, not minimal.
- A finished photo passes the anchor, fresh-eyes, and subtraction tests.
- Presets are starting points, not destinations.
- The best edit is the one the viewer experiences without noticing.