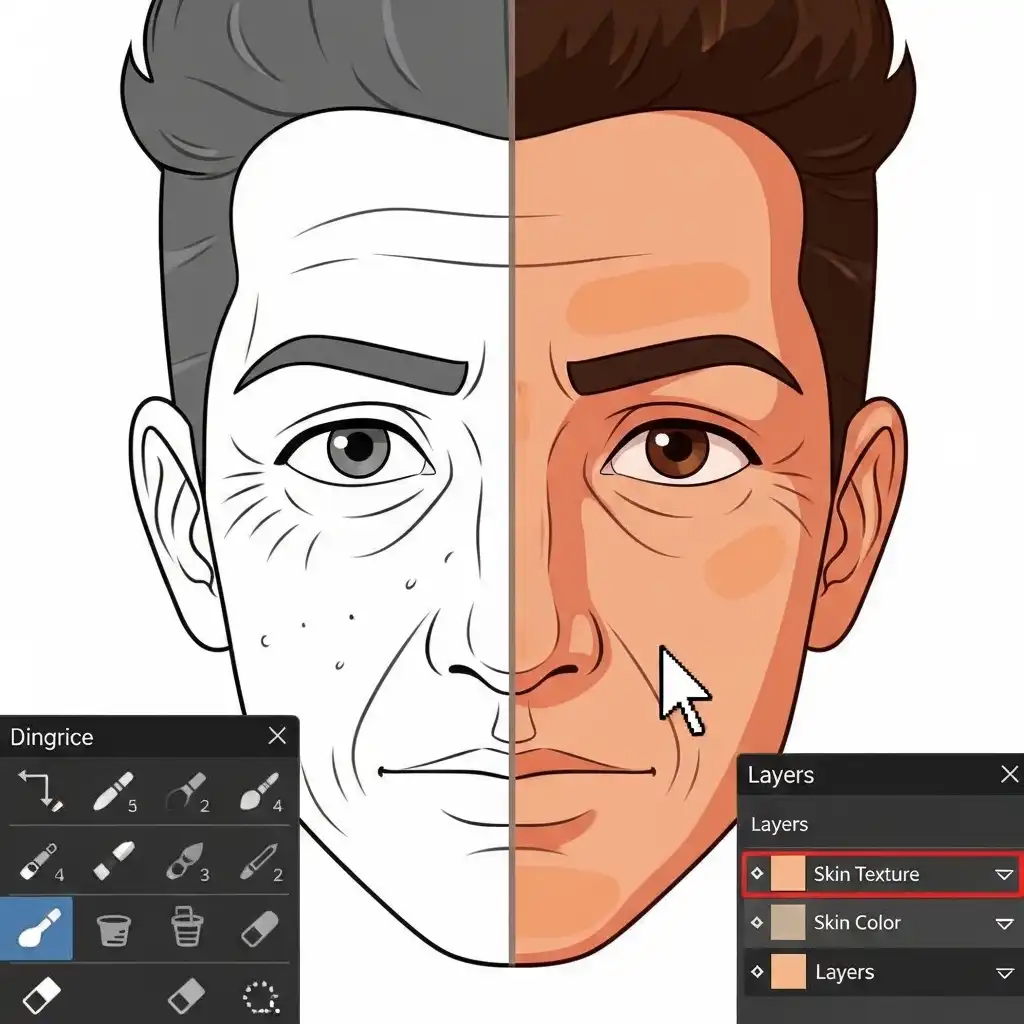
Portrait retouching lives on a razor's edge: smooth the skin too much and you erase the human being; leave every blemish and you fail the brief. The techniques that work for one — surface blur, heavy healing, aggressive noise reduction — destroy what makes the other possible. That is exactly the problem frequency separation solves.
By splitting an image into two layers that hold different kinds of information, it lets you even out color and tone on one layer while leaving every pore, hair, and fine line intact on the other. The result is polished skin that still reads as real skin — the finish every high-end retoucher relies on. In this complete frequency separation tutorial you will learn what high and low frequency actually mean, how to set up the separation step by step in our Photo Editor, what to edit on each layer, and the mistakes that turn a professional technique into a plastic mess.
What Frequency Separation Actually Is (and Why It Works)
Every photograph contains information at different spatial frequencies. Low-frequency information is the slow-changing stuff: overall color, broad tonal gradients, the warm cast of a cheek, the gradual shadow under a jaw. High-frequency information is the fast-changing stuff: pores, fine hairs, fabric weave, skin texture, tiny blemishes.
In an ordinary layer, both live tangled together — so smoothing color also smooths texture, and sharpening texture also amplifies blotchy color. Frequency separation untangles them. It creates two layers: the low-frequency layer holds only the color and tone, looking like a blurred, abstract version of the face; the high-frequency layer holds only the texture, looking like a gray map of every pore and hair. Edit the color without touching the pores. Preserve the pores without locking in the blotchiness. That independence is what makes the technique revolutionary.
High Frequency vs Low Frequency: What Each Layer Holds
The low-frequency layer is where you even out color and tone. Patchy redness, uneven tan lines, shadow transitions under the eyes and jaw, blotchy forehead tones — all of these live here. Because the layer is deliberately blurred, any healing, cloning, or brushwork you do on it produces smooth, gradual transitions without leaving hard edges or texture artifacts.
The high-frequency layer is where the skin's material reality lives: every pore, every freckle, every stray hair, the weave of clothing. This layer looks strange in isolation — a gray texture map with no color — but when it sits above the low-frequency layer with the correct blending mode, the full image reappears with every detail preserved. The discipline is simple: color work belongs on low frequency, texture work belongs on high frequency, and crossing the streams produces the plastic look that haunts bad retouching.
Frequency Separation Step by Step (The Professional Setup)
- Start from your retouched base: duplicate layers, basic exposure and white balance already corrected, blemishes healed on a separate layer.
- Create two new empty layers above your working image in our Photo Editor and name them "Low Frequency" and "High Frequency".
- Apply a Gaussian blur to the Low Frequency layer until skin texture just disappears — typically a radius between 5 and 10 pixels, depending on image resolution.
- On the High Frequency layer, apply the formula that extracts texture: the image minus the low-frequency version, plus middle gray.
- Set the High Frequency layer's blending mode to Linear Light, which makes the neutral gray invisible and reintegrates the texture perfectly.
- The setup is now complete: the image looks identical to before, but the two layers hold independent information. Name the group "Frequency Separation" and save — this structure is reusable on every portrait you edit.
What to Edit on Each Layer (The Discipline)
On the low-frequency layer, use a soft brush with low opacity and sample nearby skin tones to paint over redness, blotchiness, and uneven shadow transitions. Healing and cloning tools also work here, because the layer is blurred — repairs blend smoothly without leaving texture artifacts. Dodge and burn can be applied here too, for broad tonal sculpting of cheekbones and jawline.
On the high-frequency layer, work is rare and surgical: a tiny healing brush removes individual pimples or stray hairs without affecting the surrounding color, and gentle texture cloning can fill in a scar or patch of unusual skin. The golden rule: if an adjustment changes color or tone, it belongs on low frequency. If it changes fine detail, it belongs on high frequency. Crossing the streams — smoothing on high frequency or texturizing on low — produces the plastic look instantly.
When to Use Frequency Separation (and When Not To)
Frequency separation shines in three situations: high-end portrait work where skin must look polished but alive, beauty and cosmetics photography where every pore is visible yet even, and any retouching where skin blotchiness and texture need independent control. It is less useful when the subject has minimal visible skin, when you want a deliberately stylized or painterly look, or when the base capture is so noisy or soft that no technique can rescue it.
Beginners often reach for frequency separation too early, before foundational corrections are done — but it works best on an image whose white balance, exposure, and basic healing are already settled. Think of it as the refinement stage of a portrait, not the foundation.
Common Frequency Separation Mistakes (and How to Fix Them)
- Over-blurring the low-frequency layer, so color transitions lose all anatomical logic and faces look airbrushed — keep the blur just enough to hide texture, no more.
- Painting on the high-frequency layer with broad strokes, smearing pores into mush — high frequency work must be tiny and surgical.
- Using the technique on every portrait at full strength — many subjects need only a light touch, and frequency separation can be dialed back through the group's master opacity.
- Forgetting to check the result at viewing distance: what looks perfect at 100% can read as waxy at arm's length.
- Skipping the foundational retouch first — frequency separation cannot compensate for bad white balance, missed focus, or unhealed major blemishes.
- Treating the setup as a one-time trick rather than a repeatable template — save the layer structure as a preset and apply it to every serious portrait.
Frequently Asked Questions
What is frequency separation in simple terms?
Does frequency separation remove skin texture?
How do I do frequency separation in a free online photo editor?
Is frequency separation only for portraits?
How much blur should I apply to the low-frequency layer?
The Takeaway
Frequency separation is the retoucher's scalpel: two layers, two kinds of information, two independent disciplines. Low frequency handles color and tone with smooth brushes and gentle healing; high frequency preserves every pore, hair, and line; crossing the streams produces the plastic look everyone notices.
Key Takeaways:
- Frequency separation untangles color from texture.
- The setup is a reusable template once learned.
- Low-frequency work is broad and smooth, high-frequency work is tiny and surgical.
- The technique refines a finished base, not a raw file.
- Restraint in both blur radius and overall opacity is what separates professional polish from digital wax.
- Practice the full workflow in our Photo Editor — your files never leave your browser.