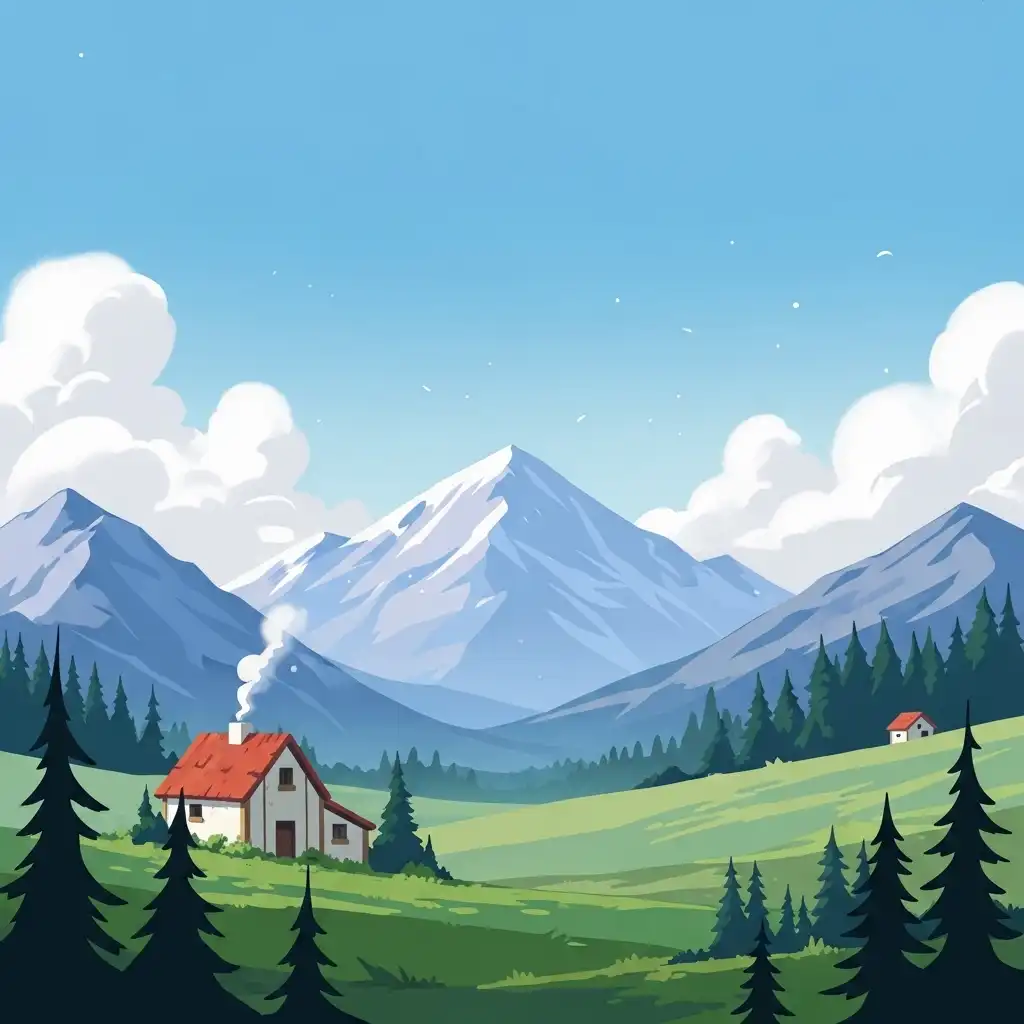
Look at any great landscape painting from the Renaissance or any award-winning mountain photograph, and you will notice the same visual truth: the foreground feels close, rich, and saturated, while the distant peaks fade into a pale, hazy whisper. This is not a flaw in the lens or a trick of the sensor — it is atmospheric perspective, the physical reality of light scattering through miles of air, moisture, and dust.
When a flat digital capture fails to convey that depth, the landscape feels like a stage set rather than a living space. In this complete guide you will learn what atmospheric perspective actually is, the science behind why distant objects fade, how to enhance it step by step using graduated masks in our Photo Editor, and the mistakes that turn natural depth into an obvious, pasted-on fake.
What Atmospheric Perspective Actually Is (The Physics of Distance)
Atmospheric perspective — also called aerial perspective — is the optical phenomenon where objects further away from the viewer appear lighter, less saturated, lower in contrast, and shifted toward the color of the atmosphere (usually blue or gray). This happens because light traveling from a distant object to your eye must pass through more air, moisture, and airborne particles.
Each mile of atmosphere scatters some of the light, washing out the object's true color and reducing its contrast against the sky. Your brain uses these visual cues subconsciously to judge distance. When a photograph captures or enhances this falloff, it triggers a profound sense of three-dimensional scale; when it lacks it, the image reads as flat and compressed, no matter how sharp the lens.
Atmospheric Perspective vs Linear Perspective (Two Different Depths)
Photographers often confuse these two depth cues, but they operate on entirely different principles. Linear perspective is geometric: parallel lines converge toward a vanishing point, and objects shrink in size as they recede. It is governed by the lens and your physical position.
Atmospheric perspective is tonal: color, contrast, and clarity degrade with distance due to the air itself. You cannot fix a lack of atmospheric depth by simply changing your focal length or cropping; you must address the tonal falloff. Understanding this distinction is crucial because it tells you exactly what to edit: to make a mountain range feel miles away, you do not need to shrink the mountains — you need to lighten, desaturate, and soften them progressively.
How to Create Atmospheric Perspective Step by Step
- Open your landscape in our Photo Editor and identify your depth planes: typically a foreground, a midground, and one or more background layers.
- Create a graduated linear mask or a series of layer masks that isolate the distant background from the sharp foreground.
- Apply a subtle curves adjustment to the masked background: lift the blacks slightly to reduce contrast, and pull the whites down gently to compress the tonal range.
- Reduce saturation in the distant zones by 10 to 20 percent — distant foliage should look less vivid than nearby foliage.
- Add a very slight color shift toward the ambient sky color — a whisper of blue or cool gray — to simulate light scattering.
- Feather the mask generously so the transition between the sharp foreground and the hazy background dissolves imperceptibly.
- Toggle the adjustment on and off and view at arm's length: the mountains should feel like they are miles away, not pasted onto the sky.
Enhancing Natural Haze vs Faking It (The Restraint Rule)
The most powerful atmospheric perspective edits are the ones that enhance what is already there rather than inventing something new. If you shot on a naturally hazy morning or in coastal fog, your image already contains the falloff — your job is simply to protect it and perhaps strengthen it slightly. If you shot on a brutally clear day, you must create the falloff from scratch, which demands extreme restraint.
The golden rule is progressive subtlety: the further away the object, the lighter and less saturated it becomes, but the transition must be gradual. A sudden jump from a vivid green tree line to a pale blue mountain reads as a masking error, not as atmosphere. Build the effect in small, layered increments and let the viewer's eye travel naturally into the distance.
Atmospheric Perspective Beyond Mountains (Universal Applications)
While mountains are the classic subject, atmospheric perspective applies to any scene with depth. Forests: distant trunks should lose contrast and shift toward cool grays compared to the rich, dark bark in the foreground. Seascapes: the horizon line should soften and lighten, and distant waves should lose their crisp whitecaps. Cityscapes: far-off skyscrapers should fade into a blue-gray haze, separating them from the sharp, warm streetlights up close.
Even environmental portraits benefit: a slightly hazy, desaturated background makes the sharply lit subject pop forward with natural depth. The principle is universal — air is everywhere, and honoring its presence is what separates flat snapshots from immersive environments.
Common Atmospheric Perspective Mistakes (and How to Fix Them)
- Applying a uniform haze across the entire frame instead of a graduated falloff — this destroys foreground impact and flattens the image rather than adding depth.
- Making the background too blue or too white, which reads as a heavy-handed filter rather than natural light scattering.
- Forgetting to reduce contrast along with saturation — distant objects are not just paler, they are flatter and less defined.
- Using hard mask edges that create a visible line between the foreground and background — always feather generously and check at viewing distance.
- Overdoing it on already hazy days: if the atmosphere is doing the work for you, a gentle contrast lift in the foreground is often enough to restore separation without adding artificial fog.
Frequently Asked Questions
What is atmospheric perspective in photography?
How do I make mountains look further away in my photos?
What is the difference between aerial perspective and linear perspective?
Can I add atmospheric perspective to a photo shot on a clear day?
Can I create this depth effect in a free online photo editor?
The Takeaway
Atmospheric perspective is the bridge between a flat capture and an immersive landscape: it honors the physical reality of light traveling through air, moisture, and distance. Enhance it by progressively lightening, desaturating, and flattening the background with generously feathered masks, always building the effect in subtle layers rather than one heavy stroke. Build your depth in our Photo Editor — your files never leave your browser.
Key Takeaways:
- Distance is communicated by tonal falloff, not just size.
- Linear perspective handles geometry while atmospheric perspective handles tone.
- Restraint and gradual transitions are what make the depth believable.
- The effect applies to forests, seascapes, and cityscapes as well as mountains.
- The best atmospheric edit is the one the viewer feels as vast space rather than sees as manipulation.