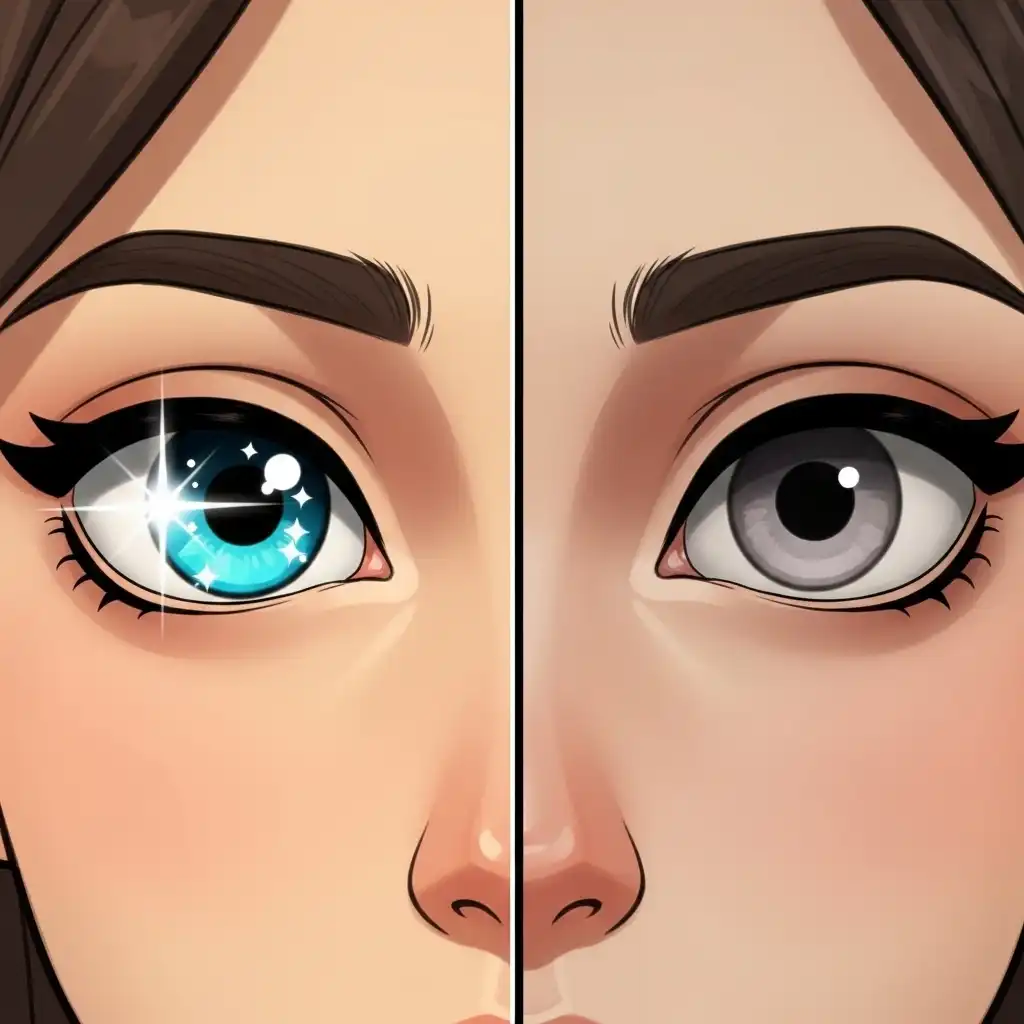
Look into the eyes of any great portrait and you will find a tiny white spark — a reflection of the light source that brought the scene to life. That spark is the catchlight, and its presence or absence is the single fastest way to tell an alive-looking portrait from one that feels vacant. Yet in the rush of skin retouching, healing, and dodging and burning, catchlights are routinely erased, flattened, or replaced with fabricated dots that never quite convince.
In this guide you will learn what catchlights are and why they matter, how to preserve them through every retouching step, how to brighten eyes naturally without inventing fake highlights, and the mistakes that strip portraits of their human connection — all practicable in our Photo Editor.
What Are Catchlights in Photography (and Why They Matter)
A catchlight is the specular reflection of your light source on the cornea — the curved, wet surface of the eye. It is the same reflection you see when someone looks at a window, a softbox, or a ring light. Its psychological importance is outsized: catchlights signal moisture, alertness, and presence. Eyes without them read as dry, lifeless, or dead — the uncanny-valley tell of mannequins, taxidermy, and poorly retouched portraits.
Because the cornea is convex, the catchlight's shape reveals the light source: a round dot from a ring light or on-camera flash, a rectangular window from a softbox, a long streak from a strip light. That shape is part of the photograph's truth, and altering it without care is what makes fabricated highlights feel wrong.
Why Eyes Look Flat in Portraits (The Missing Catchlight)
Flat-looking eyes in portraits almost always trace back to one of three causes. First, the catchlight was never captured — the subject was in flat, ambient light with no defined source to reflect. Second, the catchlight was erased during retouching — a healing brush crossed the iris boundary, a clone stamp over-painted the specular point, or aggressive skin smoothing reached too close to the eye. Third, the catchlight exists but was darkened along with the iris during exposure or color adjustments.
In every case, the remedy is the same: restore the specular reflection honestly, without inventing a shape or direction the scene never had. The goal is not to add a catchlight, but to reveal the one that was already there.
How to Preserve Catchlights During Skin Retouching
The safest approach is to make eyes a protected zone before any brush touches skin. Three disciplines do the work. First, keep retouching brushes away from the iris boundary: heal cheeks and forehead freely, but stop a few pixels outside the eye's edge, switching to a smaller brush and lower opacity near the lid. Second, work on a separate retouch layer and lower its opacity slightly near the eyes if smoothing crept too close.
Third, when using frequency separation, apply low-frequency smoothing only to skin zones and keep the high-frequency texture layer unedited around the eyes — pores and catchlights live on the same surface, and blurring one often blurs the other. The habit is simple: the eyes are a no-fly zone until you explicitly choose to work on them.
How to Brighten Eyes Naturally Step by Step
- Start with a duplicate of the background or retouch layer, so every brightening move is reversible.
- Zoom to 100% so you see the catchlight's actual shape and edge.
- Create a curves or levels adjustment layer in our Photo Editor and lift the midtones gently — the catchlight is the brightest point in the eye, so a modest lift brings it forward without inventing it.
- Mask the adjustment to the eyes only: paint with a small soft brush on the mask, keeping the effect inside the iris and off the sclera.
- For a stronger catchlight, add a second adjustment targeting only the specular highlight: a tiny brush on a curves layer that lifts the brightest pixels alone.
- Lower the layer's opacity to around 60–80% if the lift feels obvious; the eye should look brighter, not retouched.
- Toggle the effect on and off and view at arm's length: if the brightening reads as an event rather than as life, reduce it further.
How NOT to Add Fake Catchlights (And What to Do Instead)
The temptation is strong: paint a white dot on a flat eye and call it saved. Resist it. A fabricated catchlight betrays itself in three ways: its shape does not match any light source present in the scene, its direction contradicts the main light on the face, and its luminance exceeds what the cornea could realistically reflect.
The honest alternative is to amplify what is already there. If a faint specular exists — even one barely visible — lift it with a targeted curves adjustment rather than painting a new one. If no specular exists at all, accept the flat eye as the light's truth: you can brighten the iris and sharpen the lashes, but inventing a catchlight is a forgery the eye detects instantly. When genuine catchlights are truly missing — such as on overcast days — a subtle, shape-matched reflection painted at very low opacity on its own layer is defensible only if it mirrors a plausible source the scene could have held.
Catchlight Shape and Direction: Reading the Light Source
The shape of the catchlight tells the story of the light. A round dot points to a ring light, bare bulb, or on-camera flash. A soft rectangle marks a softbox. A long horizontal streak signals a strip light or window. Two distinct catchlights usually mean two sources — key and fill — and erasing one of them rewrites the lighting.
Direction matters equally: the catchlight should sit where the main light actually fell, typically at ten or two o'clock on the iris for a frontal portrait. If you paint a catchlight at the bottom of the eye while the face is lit from above, the viewer's brain registers the contradiction without naming it — and the portrait feels off. Preserve the original shape and position whenever possible; only enhance, never replace.
Common Catchlight Mistakes (and How to Fix Them)
- Erasing catchlights during skin healing: the most frequent killer of portrait life; make the eyes a no-fly zone for healing brushes.
- Brightening the entire iris uniformly: which flattens the eye instead of lifting its spark; target the specular point, not the whole iris.
- Inventing round white dots on eyes that were lit by rectangular softboxes: match the shape to the scene's light.
- Pushing brightness so high that the catchlight looks like a flashlight beam instead of a reflection; opacity between 60 and 80 percent is usually enough.
- Forgetting the second eye: both eyes need equal attention, and asymmetry reads as a mistake rather than as natural variation.
- Sharpening catchlights separately at 100% zoom until they crunch: sharpen the whole eye as a unit and judge at viewing distance.
Frequently Asked Questions
What are catchlights in photography?
Why do eyes look flat in portraits?
How do I brighten eyes naturally without making them look fake?
Should I add catchlights if they are completely missing?
Can I enhance catchlights in a free online photo editor?
The Takeaway
Catchlights are the soul of a portrait: tiny reflections that carry the light source, the subject's alertness, and the photograph's honesty. Protect them from healing brushes, amplify them with masked curves instead of invented dots, honor the shape and direction of the original light, and judge every brightening at arm's length.
Key Takeaways:
- Eyes without catchlights read as vacant.
- The most common loss happens during skin retouching.
- Honest enhancement beats fabrication every time.
- Shape and direction must match the scene's light.
- Restraint is what keeps the portrait human. Brighten the eyes in our Photo Editor — your files never leave your browser.