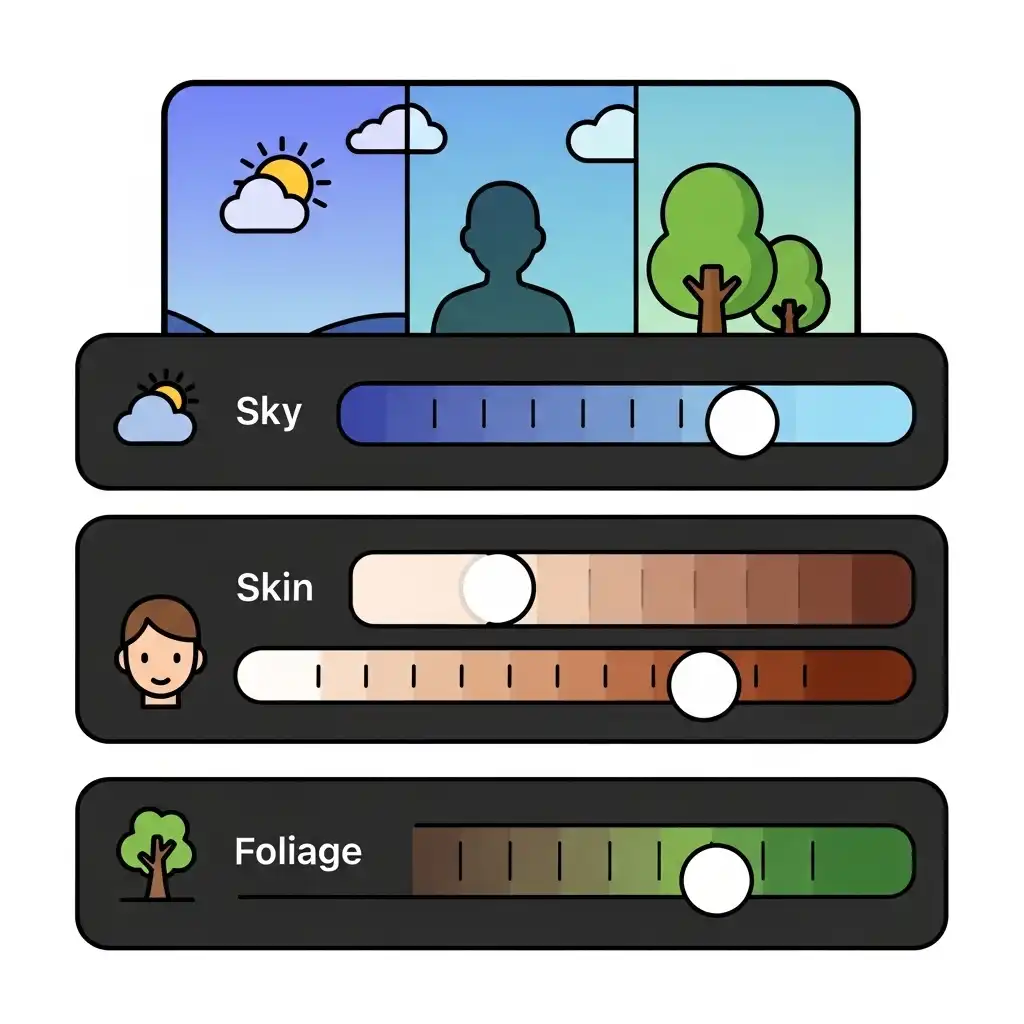
Global saturation is a blunt instrument: it pushes every color in the frame with the same force, turning skies neon and skin orange in a single gesture. Professional color grading demands the opposite — a scalpel that touches one color family while leaving every other untouched. That scalpel is the HSL panel. By giving you independent control over the hue, saturation, and luminance of each color channel, it lets you desaturate oranges for natural skin, lift blue luminance for luminous skies, or shift greens toward golden autumn — all without disturbing a single neighboring hue. In this HSL panel tutorial you will learn what the three controls actually do, a surgical step-by-step workflow, the skin-tone and sky disciplines, the mistakes that produce posterized color, and how subtle per-channel shifts accumulate into profound tonal harmony in our Photo Editor.
What Is the HSL Panel (and Why It Beats Global Saturation)
HSL stands for hue, saturation, and luminance — the three attributes that define any color. What makes the panel revolutionary is that it exposes those controls per color channel: reds, oranges, yellows, greens, aquas, blues, purples, and magentas. Global saturation multiplies every channel equally; the HSL panel lets you ask a different question of each family: should the oranges be calmer, should the blues be brighter, should the greens lean yellow or teal? Because nature rarely presents uniform color, uniform tools always overreach somewhere. The HSL panel respects each color's unique role within the composition — which is why it transforms competent edits into exceptional ones: it is color grading as conversation, not color grading as volume knob.
Hue, Saturation, Luminance: The Three Controls Explained
Hue moves a color family along the color wheel: shifting greens toward yellow produces autumn warmth, shifting blues toward teal produces cinematic coolness, and shifting oranges toward red deepens skin toward sunburned territory — each shift repositions the family without touching its neighbors. Saturation controls intensity per family: desaturating oranges calms over-warm skin, saturating aquas makes tropical water sing, while every other channel stays exactly as it was. Luminance controls brightness per family, and it is the most powerful and most neglected slider of the three: raising blue luminance brightens skies without affecting anything else, lowering green luminance adds weight and mood to foliage, and lifting orange luminance brightens skin without touching the exposure of the whole frame. Master the order — hue for position, saturation for intensity, luminance for weight — and the panel becomes fully predictable.
How to Use HSL Step by Step (The Surgical Workflow)
- Finish the foundation first: white balance and global exposure, because HSL refines what those steps stabilized.
- Identify the color families that matter in your image: which should lead, which should recede, and which are causing problems.
- Adjust hue first: reposition any family that sits in the wrong place — sickly greens toward teal, harsh oranges toward red or yellow depending on intent.
- Adjust saturation second: calm the families that shout and enrich the families that should sing, typically with small moves of five to fifteen points.
- Adjust luminance third: brighten the families that should advance and darken those that should recede — this is where depth is created.
- Check skin separately in any image containing people, because the orange channel is skin's home.
- Evaluate at viewing distance and toggle the panel on and off: HSL work should read as harmony, not as intervention. Practice every channel in our Photo Editor, where HSL controls live alongside masks and curves.
HSL for Skin Tones: The Orange Channel Discipline
Human skin lives primarily in the orange channel, with reds contributing to lips, cheeks, and blush. That concentration makes HSL the most precise skin tool in editing — and the most dangerous when handled carelessly. The professional discipline has three moves. First, desaturate oranges slightly: over-saturated skin reads as orange, sunburned, or artificial, and a modest reduction restores believability without graying the complexion. Second, adjust orange luminance to brighten or darken skin independently of the frame's exposure: lifting it gently illuminates faces in underexposed portraits without touching the background. Third, verify with objective values: sample neutral skin with a color picker and confirm the red-green-blue relationships remain human. Beware the overlap: autumn foliage, warm wood, and golden light share the orange channel — when skin and scene compete for the same channel, masks resolve what sliders cannot.
HSL for Landscapes: Skies, Foliage, and Water
Landscapes are HSL's native territory, because their color families are cleanly separated. Skies: lower blue luminance for deep, dramatic heavens, or raise it for airy, high-key brightness; shift blue hue slightly toward teal for cinematic coolness. Foliage: shift green hue toward yellow for autumn warmth or toward teal for moody, filmic forests; lower green luminance to add weight, or raise it for glowing, backlit leaves. Water: aquas and blues together control sea and lake tones — desaturate slightly for realism, saturate carefully for tropical punch, and adjust luminance to separate water from sky. The landscape discipline is restraint per channel: each family receives one clear intention, and the accumulated subtlety produces the profound tonal harmony that distinguishes graded landscapes from snapshot color.
Common HSL Mistakes (and How to Fix Them)
- Pushing a single channel to extremes, producing posterized, plastic color with visible banding — HSL moves should be whispers, not shouts.
- Forgetting channel overlap: skin and autumn leaves, sky and denim, foliage and teal clothing share channels, so a shift that fixes one can break the other — check every affected family before committing.
- Using HSL before white balance, refining hues that are globally wrong — correct the foundation first.
- Ignoring luminance, the panel's most powerful control, while overusing saturation — brightness creates depth that intensity cannot.
- Reaching for global saturation out of habit when a single channel needed the adjustment.
- And judging HSL work only at 100% zoom: subtlety that disappears when magnified can dominate at screen size — always verify at viewing distance.
Frequently Asked Questions
What does the HSL panel do in photo editing?
What is the difference between HSL and vibrance or saturation?
How do I brighten skies with HSL?
How do I fix orange skin tones with HSL?
Can I use the HSL panel in a free online photo editor?
The Takeaway
The HSL panel is color grading's scalpel: hue repositions families, saturation calms or enriches them, and luminance gives them weight and depth — each channel independently, each move accumulating into harmony. Work in the order hue, saturation, luminance; treat the orange channel as skin's home; give landscapes one clear intention per family; keep every move subtle; and verify at viewing distance that the result reads as discovered rather than applied. Refine your next palette in our Photo Editor — your files never leave your browser.
Key Takeaways:
- Global saturation is blunt while HSL is surgical.
- Luminance is the most powerful and most neglected slider.
- Channel overlap demands masks when families compete.
- Mastery of HSL is what separates technical correction from artistic color storytelling.